
Pixel Controllers for Homeowners: From Layout to EZSequence to EZPlayer

A pixel controller is the display’s brain: it takes show data and turns it into the timed signals each LED pixel understands. It sits between your sequencer or player and the pixels themselves, reading the show file and routing output to the right string at the right moment. In this guide, we walk through how that process works and where kits like the Baldrick 8 Port Controller fit into a beginner-friendly setup.
How a pixel controller works, explained simply
Think of your light show as a set of instructions: which pixel lights up, what color, and exactly when. A sequencer or player, such as software built on EZPlayer or Falcon Player, sends that timing and data stream to the controller. The controller then parses the information and writes per-pixel updates out to its physical ports, pixel by pixel, frame by frame.

That communication happens through a protocol, which is just an agreed-upon format for sending the data. You’ll see a few common ones mentioned in hobbyist circles: E1.31 (sACN) and Art-Net, which travel over Ethernet, and SPI-based protocols used by pixel types like WS281x and APA102. You don’t need to memorize the internals. You just need to know that your controller and your pixels have to speak the same one.
Beyond translating data, a controller handles a few jobs at once:
-
Parsing: it reads the incoming show data and figures out what each pixel should do.
-
Timing: it keeps every pixel update synced to the music and the rest of the display.
-
Port mapping: it assigns specific pixel strings to specific output ports.
-
Buffering and protection: it smooths out small timing hiccups so pixels don’t flicker or drop signal.
The data source feeding the controller can vary. Some hobbyists run a single-board player like Falcon Player, others use software-based players, and EZRGB kits pair our own show controllers with preprogrammed sequences so that connection is already handled for you.
Types of pixel controllers for home displays
Not every controller is built for the same job. Picking the right category depends on how big your display is, how far the pixels sit from your player, and how exposed the installation is to weather.
-
Local or SPI controllers work best for short runs and small displays. These are often microcontroller-based and handle a modest number of pixels close to the player, which makes them a natural fit for a single prop or a small section of roofline.
-
Long-range or receiver controllers come into play when pixels sit far from the main player, or when an outdoor display spans a wide yard. These typically use differential signaling to carry data over longer cable runs without degrading.
-
Networked controllers accept Art-Net or sACN over Ethernet and then feed that data to local outputs or receiver nodes. This approach suits larger, multi-node shows where several controllers need to stay in sync across a property.
Before you buy, think through your installation size, how long your cable runs need to be, whether the hardware will face outdoor exposure, and whether the controller’s output protocol matches your pixel hardware. Our earlier primer on holiday lighting controllers walks through these categories in more detail if you want a deeper comparison.
How to choose the right controller for your setup
A few practical checks will save you from buying the wrong hardware. Start with protocol match: confirm the controller’s outputs line up with your pixel type, since WS281x and APA102/DotStar pixels aren’t interchangeable on the same output. Next, map out your pixels-per-port plan, since every port has a practical limit before brightness or timing starts to suffer.
-
Protocol match: verify your controller supports your specific pixel type before ordering anything else.
-
Port count and load: calculate how many pixels you need per string and per port, not just in total.
-
Range: short data runs work fine with standard local controllers; longer runs need differential or long-range receiver hardware.
-
Power plan: account for separate supplies, shared ground, and fusing based on current draw at full white.
-
Software compatibility: check that your controller works with your player, whether that’s EZPlayer, xLights, Lightorama or FPP.
Pro Tip: Write down your total pixel count and your longest single cable run before you shop. Those two numbers alone rule out most of the wrong controllers.
If you’d rather skip this planning step entirely, our layout designer and matched kits handle these calculations for you from the start.
Wiring, power, and the mistakes beginners usually make
Most pixel problems trace back to two things: grounding and power. Always tie your controller’s ground to the pixel power ground. Skip this step and you’ll likely see flicker or color corruption that looks like a bad pixel but isn’t.
-
Separate power for larger counts: a microcontroller’s USB port can run a handful of pixels, but anything beyond a small prop needs its own power supply, since USB typically caps out around 1A, good for roughly 150 pixels at moderate brightness.
-
Keep data runs short: long unshielded runs invite signal loss; switch to long-range or differential hardware once distance grows.
-
Fuse your feeds and size your wire: voltage drop on long 5V runs causes dimming and color shift at the far end, so use thicker gauge wire and inject power at intervals.
How EZRGB builds controllers into a complete kit
We designed our kits so you don’t have to source a controller separately or guess whether it’s compatible. Every kit pairs a preprogrammed controller matched with sequences designed for your layout.
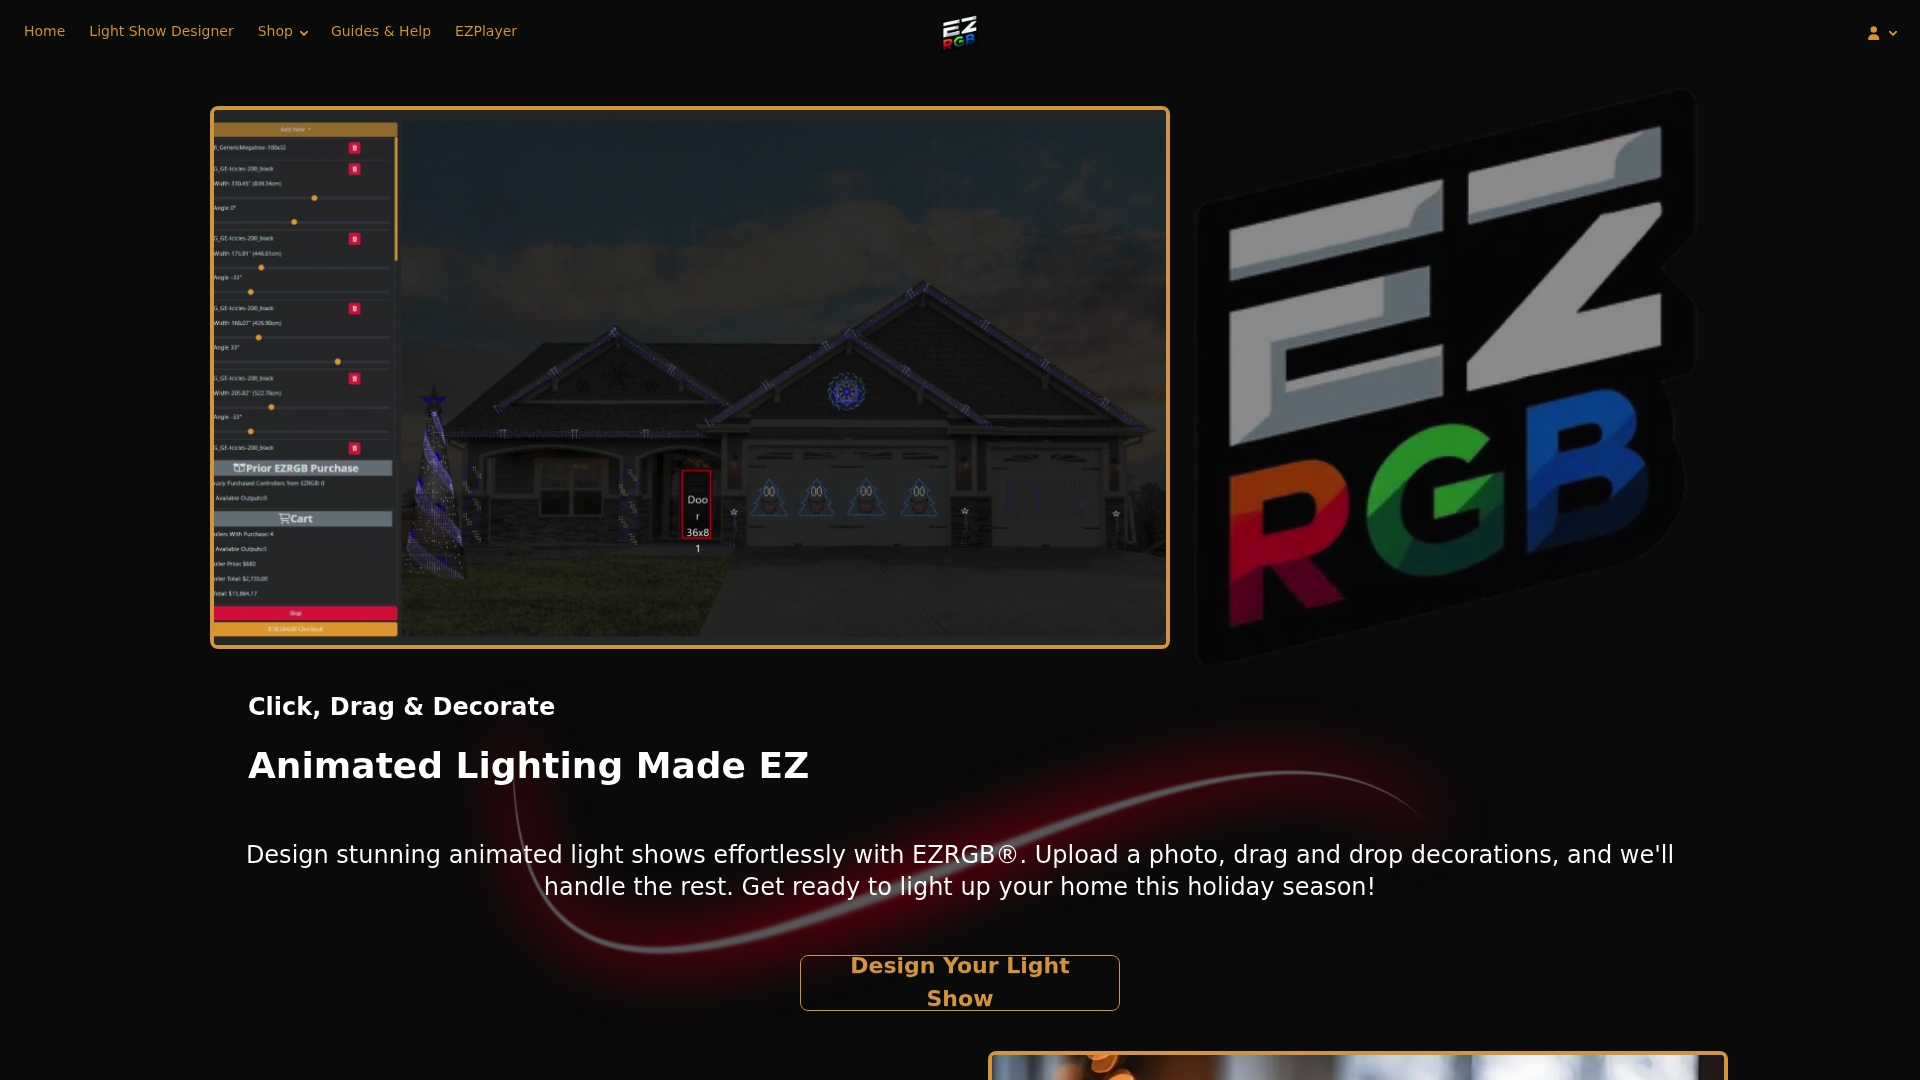
The workflow runs in order: you upload a photo of your home to our layout designer, EZSequence generates a sequence matched to that layout, and EZPlayer (or a supported player like xScheduler) runs the show on schedule. The included controller then takes that data and sends it out to your pixels, with the hardware and timing already matched before it ships. We also cover topics like this on our blog for readers who want to understand what’s happening behind the scenes.
— EZRGB Team
Pixel controllers versus other LED controllers
A standard LED controller, the kind used for a single color strip or basic RGB tape, typically sends one signal to an entire run of lights. Every LED on that strip reacts the same way at the same time, which is fine for a wash of color but not for animation.
A pixel controller works differently because it addresses each individual pixel. Instead of one command for the whole strip, it sends a unique instruction to every single LED, which is what makes chasing patterns, color waves, and music-synced animation possible. This distinction matters most once you move from simple string lights into animated displays, since incandescent and basic LED string lights have no addressing at all. They’re either on, off, or dimmed as a group.

Pixel-addressable systems also depend more heavily on data protocols like SPI, E1.31, or Art-Net, where basic LED controllers often rely on simple dimming signals or none at all. That added complexity is the tradeoff for the flexibility: you get full per-pixel control, but you also need a controller built to parse and route that much more detailed data stream.
Software and firmware considerations for pixel controllers
Most pixel controllers run on firmware that interprets incoming show data and manages port output. Some hobbyists update this firmware directly, especially on open platforms tied to projects like Falcon Player, where configuration files map virtual strings to physical ports in a JSON format.
On the software side, you’ll typically configure channel outputs, port assignments, pixel counts, and color order either through a player’s interface or a dedicated configuration tool. This is where sequencers come in. A tool like EZSequence builds a sequence file matched to your specific layout, and a player like EZPlayer or FPP reads that file and pushes it to the controller.
Firmware updates matter because they can add support for new protocols, fix timing issues, or expand port capacity. If you’re running a kit controller, updates are usually simpler since the hardware and software are matched from the start. If you’re building a DIY system from separate parts, you’ll want to check manufacturer documentation periodically and confirm your player software still matches your controller’s supported outputs before each season.
Troubleshooting common pixel controller issues
Most pixel controller problems fall into a short list of repeat offenders. Flickering or randomly colored pixels almost always point to a grounding issue or a power supply that’s undersized for the pixel count connected to it.
If an entire string stays dark while others work fine, check the port mapping first. A mismatched port assignment in your configuration file will leave a string with no data even though power is reaching it. Color that shifts or dims toward the end of a long run usually signals voltage drop, which thicker gauge wire and power injection at intervals will correct.
When pixels behave erratically only in certain patterns or colors, it’s worth checking for a level-shifting problem, particularly if you’re pairing a 3.3V controller with 5V pixels without a shifter in between. And if nothing lights up at all, confirm the data cable is seated correctly and that your player’s protocol settings match what the controller expects. Most of these issues trace back to the wiring and power basics covered earlier, which is exactly why getting those right the first time saves the most troubleshooting later.
DIY wiring or a plug-and-play kit: which fits you?
DIY setups are great for learning and small projects, and tinkering with a microcontroller teaches you how the pixel chain really works. But for a first animated holiday display, a kit with a matched controller, like the Baldrick 8 Port, trades some customization for reliability and a much faster setup.
— EZRGB Team
Getting started with a pixel controller kit
If you want the planning done for you, our kits pair a matched controller with preinstalled pixels and sequences built for your layout. The Baldrick 8 Port Controller, paired with our Plug and Play Kits, gives you a controller, preprogrammed sequences, access to EZPlayer, and the installation hardware needed to get lights on your house without sourcing parts separately.
Here’s what you’ll typically receive with a starter kit:
-
A preprogrammed controller matched to your pixel count and layout.
-
Sequences generated through EZSequence based on your uploaded home photo.
-
Installation hardware and extension cords sized for your display.
-
EZPlayer access for scheduling and song syncing once you’re set up.
| Yard scope | Suggested kit size | Typical use |
|---|---|---|
| Small yard or single feature | Small kit | Porch, doorway, or single tree |
| Medium yard | Medium kit | Roofline plus yard props |
| Large yard or full-property display | Large kit | Multiple rooflines, trees, and synced props |
If you’d rather build your display piece by piece, our Plug and Play Props, RGB Lights, and RGB Sequences and Pixel Pro Displays let you add exactly what your layout needs. For controller hardware accessories beyond our kits, Dirty Birdy Powersports carries RGBW controller options worth a look. Browse the Baldrick 8 Port Controller to see what ships standard, or start with a kit sized to your yard today.
FAQ
What is the price of a pixel LED controller?
Pricing varies widely by brand, port count, and whether it ships as part of a kit. Our own Baldrick 8 Port Controller and kit pricing are available on the product page, since we don’t publish a single universal price across all pixel controllers.
How does a pixel work?
A pixel is an individually addressable LED, meaning each one can receive its own color and timing instruction rather than reacting as part of a group. Controllers send that per-pixel data down the line, which is what allows chasing patterns and music-synced animation.
How do I program a pixel LED controller?
Programming typically happens through sequencing software that generates a show file matched to your layout, then a player sends that file to the controller. Our own workflow uses EZSequence to build the sequence and EZPlayer to run it, though tools like Falcon Player and xLights follow a similar structure.
Which LED pixel controller is the best?
The right choice depends on your pixel type, port needs, and cable run length rather than one universal answer. For beginners setting up their first animated display, a matched kit controller like our Baldrick 8 Port Controller removes most of the guesswork since it’s paired with compatible pixels and sequences from the start.