How Simple Lighting Controllers Work for Holiday Displays
Your EZRGB pixel controller does one job: it receives timed pixel data from EZPlayer and converts it into the low-level WS2811 protocol that tells each individual LED exactly what color to display, frame by frame, in sync with your music. That single function is what turns a pre-programmed sequence into a rooftop light show.
Here’s what makes up a complete animated display system:
-
EZRGB layout designer + EZSequence — upload your home photo, place props, and auto-generate a mapped sequence
-
EZPlayer — cloud-connected show player that schedules songs, syncs purchased sequences, and pushes updates
-
Pixel controller — converts network data to WS2811 output for each prop
-
Power supplies — 12V DC feeds for your pixel props
-
WS2811 pixels — individually addressable RGB LEDs that receive data down the strand
The plug-and-play advantage is real: EZRGB ships controllers sync-ready to your layout, so you skip the manual mapping that trips up most first-time builders.
Key Takeaways
Simple pixel controllers receive timed E1.31 or DDP network data from EZPlayer and convert it to WS2811 output, turning pre-programmed sequences into synchronized animated displays with no manual channel mapping required.
| Point | Details |
|---|---|
| Data flow | Show file → EZPlayer → E1.31 network → controller → WS2811 pixels, frame by frame |
| Universe sizing | Each E1.31 universe carries 512 channels, covering roughly 170 RGB pixels |
| Universe assignment | Check the controller’s universe setting first when a prop shows no signal or wrong colors |
| EZRGB advantage | Sync-ready controllers and EZSequence auto-mapping eliminate manual setup for homeowners |
Table of Contents
-
What are the core components of an animated light show system?
-
How does data move from a song to a single pixel on your roof?
-
What’s inside a pixel controller and what styles will you encounter?
-
How do you set up an EZRGB plug-and-play kit for the first time?
-
Why EZRGB makes controllers and playback easier for homeowners
What are the core components of an animated light show system?
Every animated display, from a single roofline run to a full yard with multiple props, relies on the same four hardware and software layers working together.
| Component | What It Does | Typical Spec |
|---|---|---|
| WS2811 pixels | Individually addressable RGB LEDs; each pixel reads its data, sets color, and passes remaining data to the next | 12V DC |
| Pixel controller | Converts DDP/sACN network packets into WS2811/SPI signals the pixels accept | 8 output ports |
| Power supply | Provides regulated DC voltage to pixels and controller | 12V |
| Show player (EZPlayer / FPP) | Plays the sequence file and sends timed E1.31 packets over the network | Raspberry Pi or cloud-connected device |
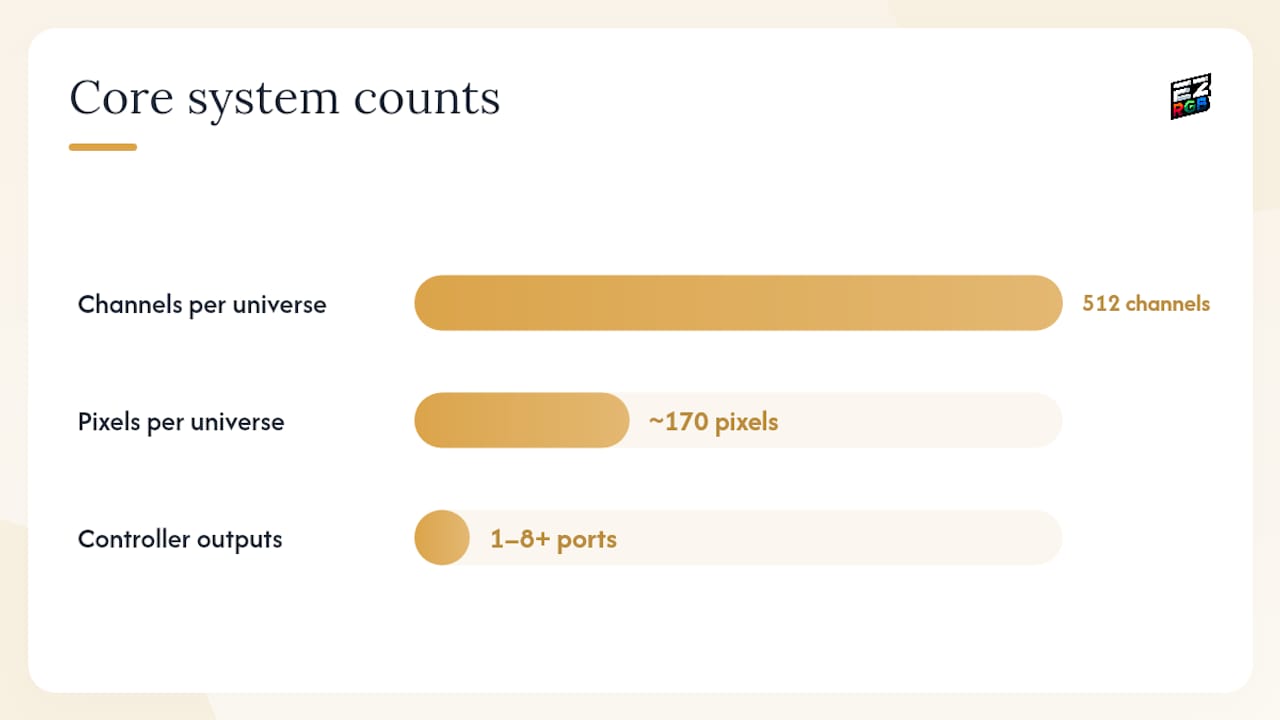
Pixel lights are individually addressable, meaning sequencing software like xLights or EZRGB’s EZSequence creates per-pixel animations, and a show player runs the exported file to produce the animated result. Each E1.31 universe carries 512 channels, which maps to roughly 170 RGB pixels per universe — a figure you’ll use when planning how many universes your controller needs to cover your full prop count.
EZRGB’s cloud designer handles that math for you. You upload a photo of your home, drag props into position, and EZSequence generates a sequence already mapped to your specific layout. The controller you receive is pre-configured with the correct universe assignments for your order.
How does data move from a song to a single pixel on your roof?
Understanding the data path helps you pinpoint problems fast. Here’s the complete chain, step by step:
-
Sequence creation — EZSequence (or xLights) analyzes your audio and builds a timed show file (
.fseq) with per-pixel color commands matched to the music. -
Show file loaded — You upload the
.fseqfile to EZPlayer, or it syncs automatically from the EZRGB cloud when you schedule a song. -
Show player transmits — EZPlayer (or FPP on a Raspberry Pi) reads the file and sends E1.31/sACN packets over your local network, one universe at a time, at the correct frame rate.
-
Controller receives packets — Your pixel controller listens on its assigned IP address, matches incoming universe numbers to its output ports, and buffers each 512-channel universe.
-
WS2811 output — The controller serializes the buffered data and sends it down each output port as a WS2811 signal at the correct voltage and timing.
-
Pixel-level execution — The first pixel in the strand reads its three channels (R, G, B), sets its color, and passes the remaining data to the next pixel — repeating down the entire strand.
A practical show chain runs: build sequence in software → play from a show computer → send E1.31/Art-Net packets → controller decodes and outputs WS2811 data to the LEDs.
Pro Tip: If one prop shows the wrong colors or nothing at all, check the controller’s universe assignment for that output port first. A single off-by-one universe number is the most common cause of a prop that looks “dead” when everything else works.
How does music synchronization actually work?
Music sync is not magic — it’s math. Sequencing software or a show player analyzes an audio file using beat detection and frequency analysis, then timestamps lighting commands so the controller executes pixel changes in rhythm with the music.
Homeowners using EZRGB encounter two approaches:
Pre-sequenced tracks are the most reliable method for holiday displays. EZSequence exports a timed
.fseqfile where every pixel command is already locked to a specific millisecond in the audio. The controller simply executes what it’s told, frame by frame, with no real-time analysis required during playback.
The second approach, live beat-reactive sync, uses a microphone to detect audio in real time and trigger effects. It’s less precise than a pre-sequenced file and more prone to drift.
The EZRGB workflow keeps things straightforward: design your layout in the drag-and-drop designer → EZSequence generates a sequence mapped to your layout → export or sync to EZPlayer → schedule songs and manage playback from the EZPlayer cloud dashboard. When EZRGB releases updated sequences or you add a new prop, EZPlayer pulls the update without requiring you to rebuild anything from scratch.
Pro Tip: Before your first public playback, run the full audio sync test at low volume through EZPlayer. Listen for any section where the lights lag the beat by more than a half-second — that usually points to a network latency issue between EZPlayer and the controller, not a sequence error.
What’s inside a pixel controller and what styles will you encounter?
A pixel controller converts high-level control data — Art-Net, sACN, or DMX — into the low-level WS2811/SPI signals your pixels understand. Matching the controller to your pixel protocol is non-negotiable for reliable operation.
Inside a typical controller you’ll find:
-
Microprocessor — handles network communication, universe buffering, and timing
-
Driver ICs — generate the precise WS2811 signal timing each pixel IC requires
-
SPI output ports — physical terminals where your pixel data wires connect (1–8 ports on most EZRGB controllers)
-
Ethernet port — receives E1.31 packets from EZPlayer or FPP
-
Power/terminal blocks — connect your DC power supply and pixel wiring
Centralized vs. decentralized placement is a real decision for larger displays. A single multi-port controller (like the EZRGB Baldrick 8-port controller) handles all props from one location, which simplifies configuration.
What do you need to know about wiring, power, and safety?
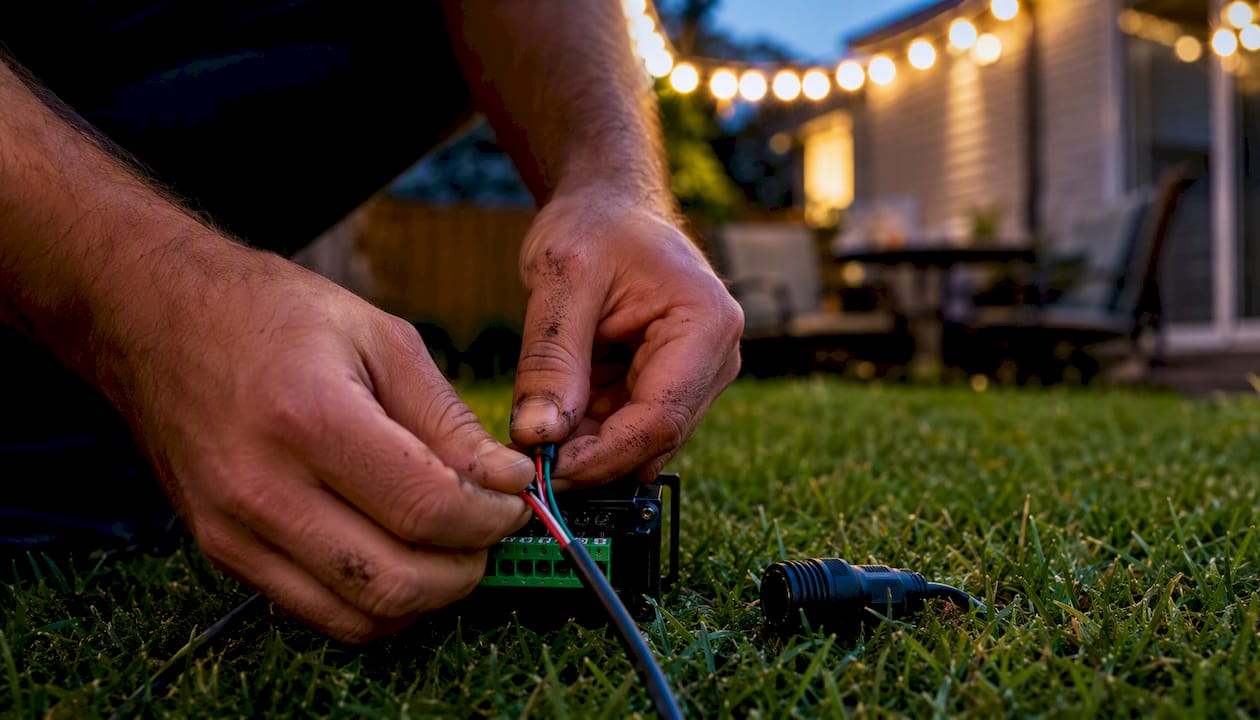
Pixel wiring uses three conductors: +V (positive DC), GND (ground), and DATA. Controllers expose terminal blocks for pixel connections and Ethernet ports for show communication. Never connect pixel props directly to 120V AC — all pixel power runs on low-voltage DC (5V or 12V), converted by a dedicated power supply.
How do you set up an EZRGB plug-and-play kit for the first time?
Follow these steps the evening your kit arrives and you’ll have your first show running within a few hours:
-
Unbox and place props — position each prop where you want it on your home exterior.
-
Power up the controller — Plug in the ready-to-run controller to your home power.
-
Connect pixel props — match the wiring diagram for each prop to the correct controller output port.
-
Connect to your network — plug the controller’s Ethernet port into your router, or follow the EZPlayer setup.
-
Log in to EZPlayer — open the EZPlayer cloud dashboard, confirm your controller appears online, and verify the IP address matches.
-
Select a pre-programmed sequence — choose a song from your purchased EZRGB sequences and assign it to your schedule.
-
Run a short test sequence — trigger a test playback and walk your display to confirm every prop lights correctly.
-
Schedule your show — use EZPlayer’s scheduler to set start and stop times for nightly playback.
Pro Tip: Test from the closest prop to the farthest. If the first prop works but a distant one doesn’t, the issue is almost always adistance, max distance is 25’ from the controller.
What should you do when something isn’t working right?
Most show problems fall into four categories, each with a short diagnostic path.
No signal / prop won’t light: Confirm the controller is online in EZPlayer, check that the universe number assigned to that output port matches the universe in your sequence file.
Pro Tip: Before contacting support, swap the non-working prop to a known-good controller output port and run a short test file. If the prop works on the new port, the original port’s universe assignment or wiring is the issue. Check the EZRGB guides and help page for port-specific configuration steps.
How long does setup take and what does a basic kit cost?
Setup time and cost both scale with display size, but a plug-and-play kit keeps both lower than a fully custom build.
-
Unboxing to first test: 1–3 hours for a small kit with a few props
-
Full roofline + multiple props: plan for a weekend, including running extension cords and mounting props
-
Basic plug-and-play kit: entry-level kits for a small home display start at a few hundred dollars; larger roofline setups with more props and longer runs cost more
-
Cost drivers: pixel count, number of props, total cable run length, and whether you add extra power injection hardware
-
What EZRGB includes that saves time: pre-mapped sequences, pre-configured controllers, extension cords, and cloud EZPlayer updates that eliminate annual reprogramming
Compare that to building a display from scratch with raw pixels, a generic controller, and sequencing software — the mapping, configuration, and testing alone can take a full weekend before a single light turns on.
Why EZRGB makes controllers and playback easier for homeowners
EZRGB reduces the technical work at every step of the process. The layout designer lets you upload a photo of your home and drag props into position visually, so there’s no manual coordinate entry or guesswork about which pixel maps to which prop.
Key features that cut setup time:
-
EZSequence auto-generates a timed sequence already mapped to your specific layout — no manual channel assignment in xLights required
-
Pre-configured controllers ship with universe assignments matching your order, so you connect and power up rather than configure from scratch
-
EZPlayer cloud scheduling lets you add songs, adjust what plays each night, and receive sequence updates from any browser without touching the controller
-
Guides and support resources at EZRGB guides and help cover everything from first-run setup to advanced prop additions
For homeowners who want a professional animated display without learning DMX addressing or pixel protocol specs, the pre-configured EZRGB system removes the barriers that stop most people from attempting animated lighting at all.
What using a simple controller actually feels like
The EZRGB Team hears this consistently: the moment a homeowner runs their first pre-sequenced show and watches the roofline flash in time with a holiday song, the technical complexity behind it becomes irrelevant. What you experience is color, timing, and music working together exactly as designed. One practical tip worth repeating: run your audio sync test at low volume before your first public night. It takes five minutes and confirms the timing is tight before neighbors are watching. That small step, combined with checking power at your farthest pixel, covers the two most common first-night surprises.
Ready to run your first animated light show?
EZRGB gives you a complete plug-and-play path from unboxing to a fully scheduled, music-synced holiday display. Your Christmas Light Show Kit arrives with sync-ready controllers, pre-mapped sequences that you purchased separately, and everything you need to connect and play the same evening.
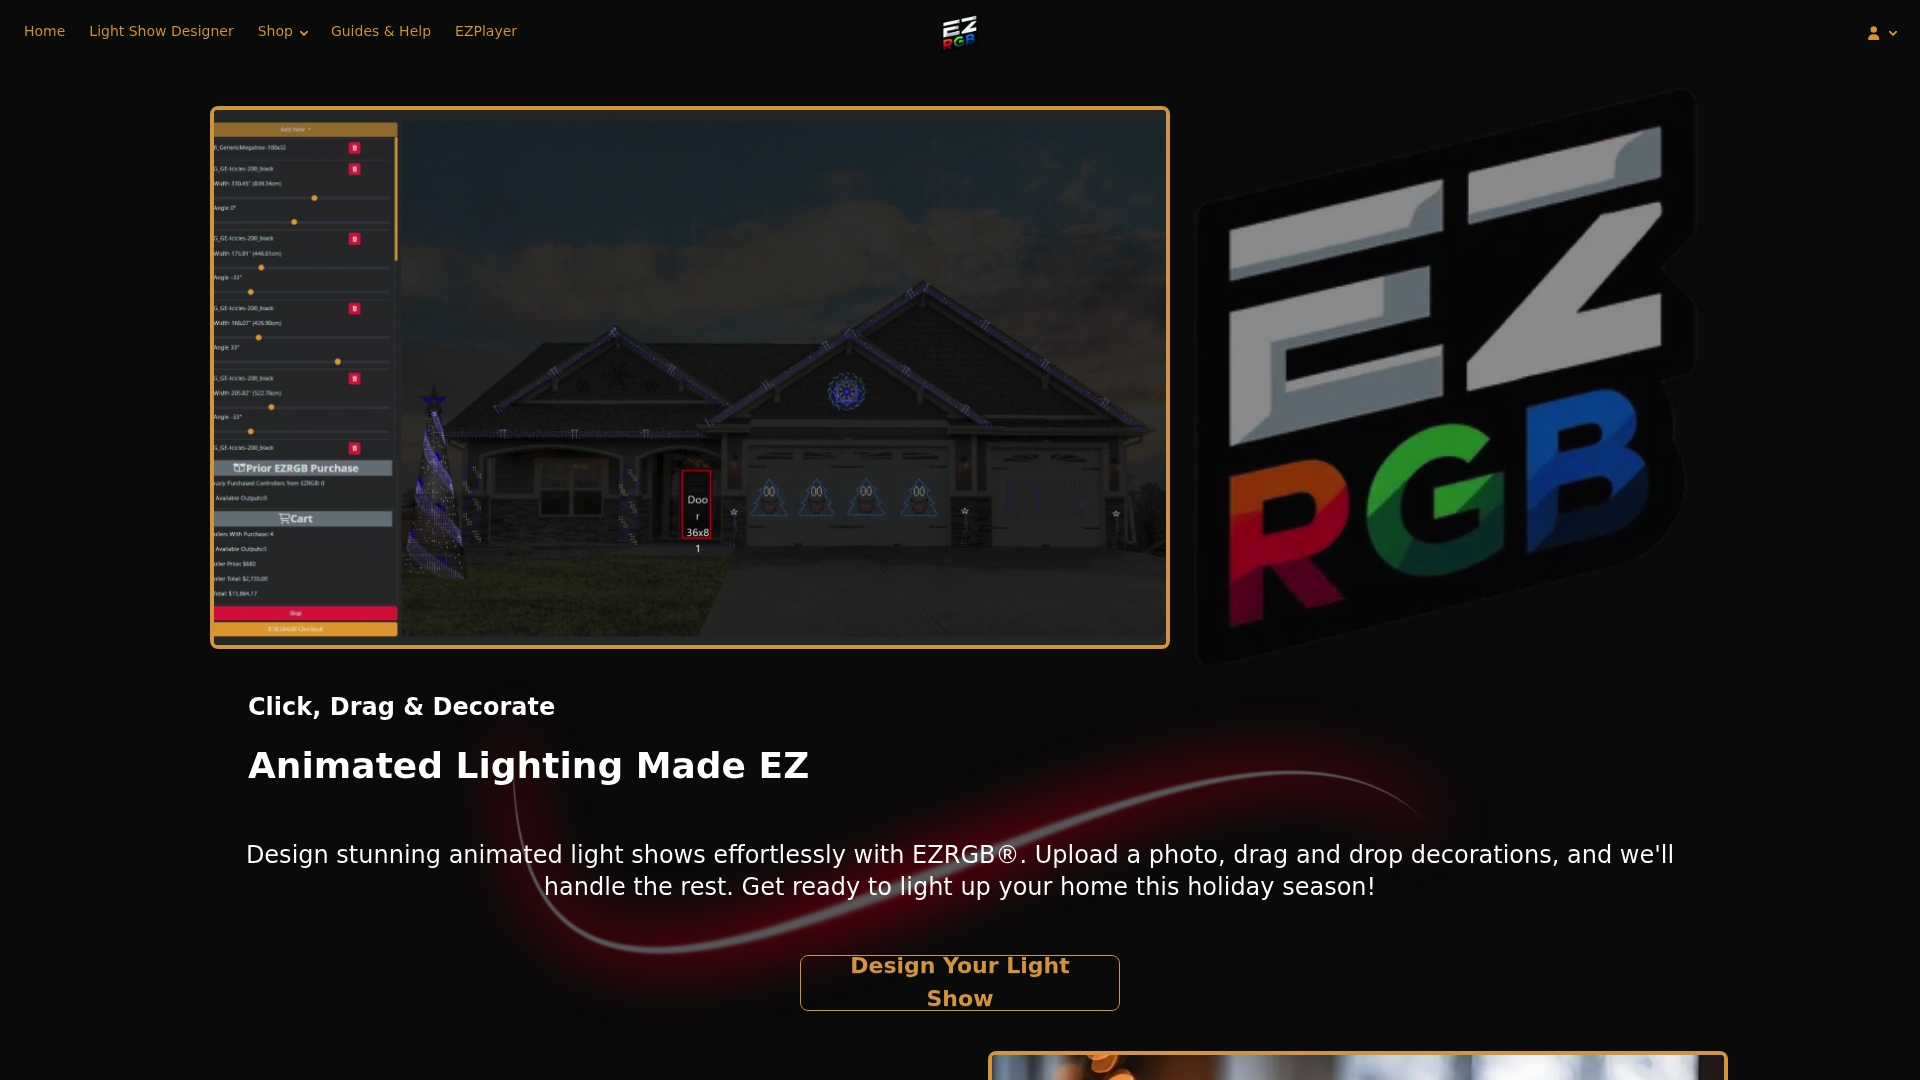
EZSequence handles the sequence generation automatically based on your home layout, and EZPlayer keeps your show updated year after year from the cloud. No annual reprogramming, no manual channel mapping, and no need to rebuild your display from scratch when you add a new prop.
Visit Ezrgb to browse kits, explore individual props, and get your first animated display scheduled before the season starts.
Sources
-
Pixel LED Basics & Getting Started · Large-Scale LED Pixel Installations
-
What is a Pixel Controller, and Which One Do I Need for my Christmas Lights?
-
Pixel Lights: The Complete Guide (How They Work + Where to Start)
-
Understanding Pixel Controllers: Solutions for Every Digital Lighting Project
FAQ
What does a pixel controller actually do in a light show?
A pixel controller converts E1.31 network packets from your show player into WS2811 signals that tell each individual LED what color to display. Without it, your show player has no way to communicate with the physical pixels.
How many pixels can one controller output port handle?
Each E1.31 universe carries 512 channels, which covers roughly 170 RGB pixels. For larger props, output ports can be assigned multiple universes in sequence, but each universe itself is limited to about 170 RGB pixels.
Why do my pixels dim or change color toward the end of a long run?
Voltage drop along the data and power wires causes brightness and color accuracy to fall off at the far end of a long pixel strand. Follow the wiring diagram and stay within 25’ of the controller to prevent this.
Do I need to configure the controller myself with an EZRGB kit?
No. EZRGB ships controllers sync-ready with universe assignments matched to your specific layout order. You connect, power up, and log in to EZPlayer to start scheduling your show. EZPlayer then configures your controller to your show!
What’s the difference between EZSequence and EZPlayer?
EZSequence generates the timed sequence file mapped to your home layout automatically. EZPlayer is the cloud-connected show player that schedules songs, syncs your purchased EZRGB sequences, and manages what plays each night from any browser.