
Sequencer First Singing Faces: Light-O-Rama, xLights, EZRGB Kits

You need four things for a working singing face: an audio file or recorded phrase, a sequencer project in xLights or Light-O-Rama, a mapped face model built from pixels or a coro prop, and a controller to run it. Import your audio, load or build the face model, map the pixels, then auto-sequence or import a timing track and preview before you commit. If soldering and channel math sound like more than you want to take on, an EZRGB plug-and-play kit gets you to a working display without the DIY build.
Setting up Light-O-Rama’s Auto Sequence for singing faces
Light-O-Rama’s Auto Sequence tool lives under the sequencer’s Tools menu, sometimes labeled Image Setup depending on your version. Opening it brings up a dialog where you pick your face channels and load a phrase or lyric track for analysis.
You will typically choose between single-pixel presets for a basic one, two, or four-face setup, or load custom face images if you built a matrix or coro prop with more detail. Once your channels are assigned, running Auto Sequence analyzes the audio and generates mouth movements automatically.
-
Open Auto Sequence from the Tools menu and select the face channels you want to animate.
-
Load a default face preset for one to four faces, or import your own face image if your build is custom.
-
Run the analysis, then scrub through the result to check whether consonants and vowels land where they should.
-
If the output looks off, try re-recording the lyric or phrase in a cleaner isolated clip before running Auto Sequence again.
Once you are happy with the pass, preview it in SuperStar to see the mouth shapes rendered against your actual face layout, then export the finished sequence to your show file.
Building singing faces in xLights: face definitions and timing tracks
xLights handles singing faces through a Face Definition, which you add from the Layout tab by right-clicking your model and choosing to create one. The xLights workflow for singing faces follows a consistent path from face creation to preview, which makes it approachable even on your first build.
-
Decide on a face type: single node (one pixel per feature), node ranges (a small cluster per mouth or eye shape), or a full matrix for higher detail.
-
Assign your mouth, eye, and teeth elements to specific pixels or node groups, and set forced colors for phonemes if you want sharper visual separation between shapes.
-
Import a phrase file or a Papagayo lip-sync file, then check the dictionary for any unknown words the tool could not match automatically.
-
Preview the face in the Layout tab, then drag the finished timing track into the Sequence tab to apply it to your model.
Isolating the lyric clip before you import it makes a noticeable difference in how clean the automatic phoneme placement turns out. For songs with harmonies or a busy backing vocal, manually editing the timing track, or splitting parts across two faces, tends to look more convincing than relying on a single auto-generated pass.
Preparing audio and phrase files for accurate lip sync
Clean input audio is the single biggest factor in how believable your singing face looks. A muddy track with instruments buried under the vocal will confuse any auto-sequencing tool, no matter how good the software is.
-
Isolate the lyric or phrase you are animating, ideally as its own clean clip rather than pulling straight from the full mix.
-
Stick to standard formats like WAV or high-quality MP3 at a consistent sample rate, since most sequencers expect clean, uncompressed input for best results.
-
Record your own spoken version of tricky lines when the original vocal is stylized or hard for the software to parse.
-
Import through Papagayo or your sequencer’s native phrase tool, then hand-edit any phoneme that lands noticeably off after the automatic pass.
Pro Tip: Record a spoken, unmelodic version of your lyrics for timing reference, then swap in the real vocal track once the mouth movements line up.
Choosing between single-node, matrix, and coro face builds
Singing faces generally fall into three build styles, and the trade-offs between them come down to fidelity versus cost and labor. Coro faces are flat cutout sheets with pixels mounted behind cut mouth and eye shapes, wire-frame faces use bent wire outlines with pixels along the frame, and matrix faces use a dense pixel grid for the most detailed mouth shapes.
-
Coro builds are the cheapest and fastest to assemble, and work well for basic open, closed, and wide mouth shapes.
-
Wire-frame faces give a lighter, more sculptural look but take more time to shape and mount securely.
-
Matrix faces support the most detailed phoneme shapes but need more channels, more soldering, and more mounting hardware.
-
Higher pixel density only helps if the mapping is clean: a well-mapped simple face reads better at a distance than a cluttered high-count matrix.
Installation work scales with the build type you pick. Coro and wire-frame faces need weatherproof backing and secure mounting points, while matrix builds add soldering time for every additional node and usually call for a sturdier frame to keep the pixel grid rigid outdoors.
Hardware essentials: channels, power, and adapters
Budget your channels before you buy anything. Mouth elements often need multiple channels each to support distinct shapes, and a detailed singing tree build can require around 307 nodes for a single face once you count mouth, eye, and outline elements together.
-
Count your total nodes per face, then add headroom on your controller so you are not maxing out a universe on day one.
-
Size your power supply for the full string running at once, not just a partial test, to avoid voltage drop across long pixel runs.
-
Plan for a DMX-to-USB or DMX-to-RS485 adapter to connect your controller to the sequencer PC if your setup does not talk directly over network protocols.
-
Waterproof every solder joint with heat shrink tubing, and mount controllers in enclosures rated for outdoor use.
-
Check your show player’s memory and channel limits before adding a second or third face, since each one adds real processing load.
A professional installation guide covering outdoor durability and weatherproof mounting is worth a look if this is your first outdoor pixel build.
Sequencing tips that make lip sync look convincing
Good phoneme timing follows a simple rule: consonants get short frames and vowels get longer ones. Stacking small timing adjustments on top of the auto-generated pass, rather than replacing it outright, usually saves the most time.
-
Keep consonant frames tight and let vowel frames breathe a little longer so the mouth shape has time to register on camera.
-
Split vocal parts across two faces when a song has clear harmony lines, rather than forcing one face to represent both.
-
Run short test sequences before committing to a full show file, and use “Play All” to check every face fires together correctly.
-
Choose mouth colors with strong contrast against the face background so shapes stay readable at typical yard viewing distances.
Pro Tip: Record a short test clip on your phone from the street, not just from your desk, since colors and shapes that look sharp up close can blur together from thirty feet away.
Fixing common sync and power problems in singing faces
Most singing face problems trace back to one of three causes: a mapping error, a power issue, or a timing mismatch in the sequence itself.
-
If mouth shapes are firing on the wrong pixels, reconfirm your channel assignments in the layout before touching the sequence.
-
If audio and animation drift out of sync, play the isolated phrase clip alone to check whether the source file itself has timing gaps.
-
If certain pixels flicker or stay dark, run a single-channel test to isolate whether it is a wiring fault or a controller output issue.
-
If a whole segment goes dark under load, check your power rail for voltage drop rather than assuming the controller failed.
-
Re-edit timing only after you have ruled out mapping and power, since a perfectly timed sequence still looks wrong on a miswired face.
When a plug-and-play kit beats a DIY singing face build
A lot of hobbyists start a singing face build, get through the soldering and mapping, and decide the payoff was not worth the weekends it cost. That is a reasonable place to land: address mapping, channel budgeting, and waterproofing are real skills, and getting them wrong on an outdoor prop means redoing work in the cold.
A layout designer can let you drop a face prop onto a photo of your display and skip manual pixel mapping, while a sequencing tool may generate timing instead of requiring hand-edited phonemes. Kits built for this purpose, like the Singing Tree Kit 1, arrive pre-mapped and pair with EZPlayer for scheduling and playback once you’re set up.
— EZRGB Team
Faster ways to get a singing face running this season
If everything above sounds like more build time than you have, EZRGB’s plug-and-play kits skip the soldering and mapping steps entirely. You still get a synchronized singing prop, just without the channel math or the trial-and-error timing edits.
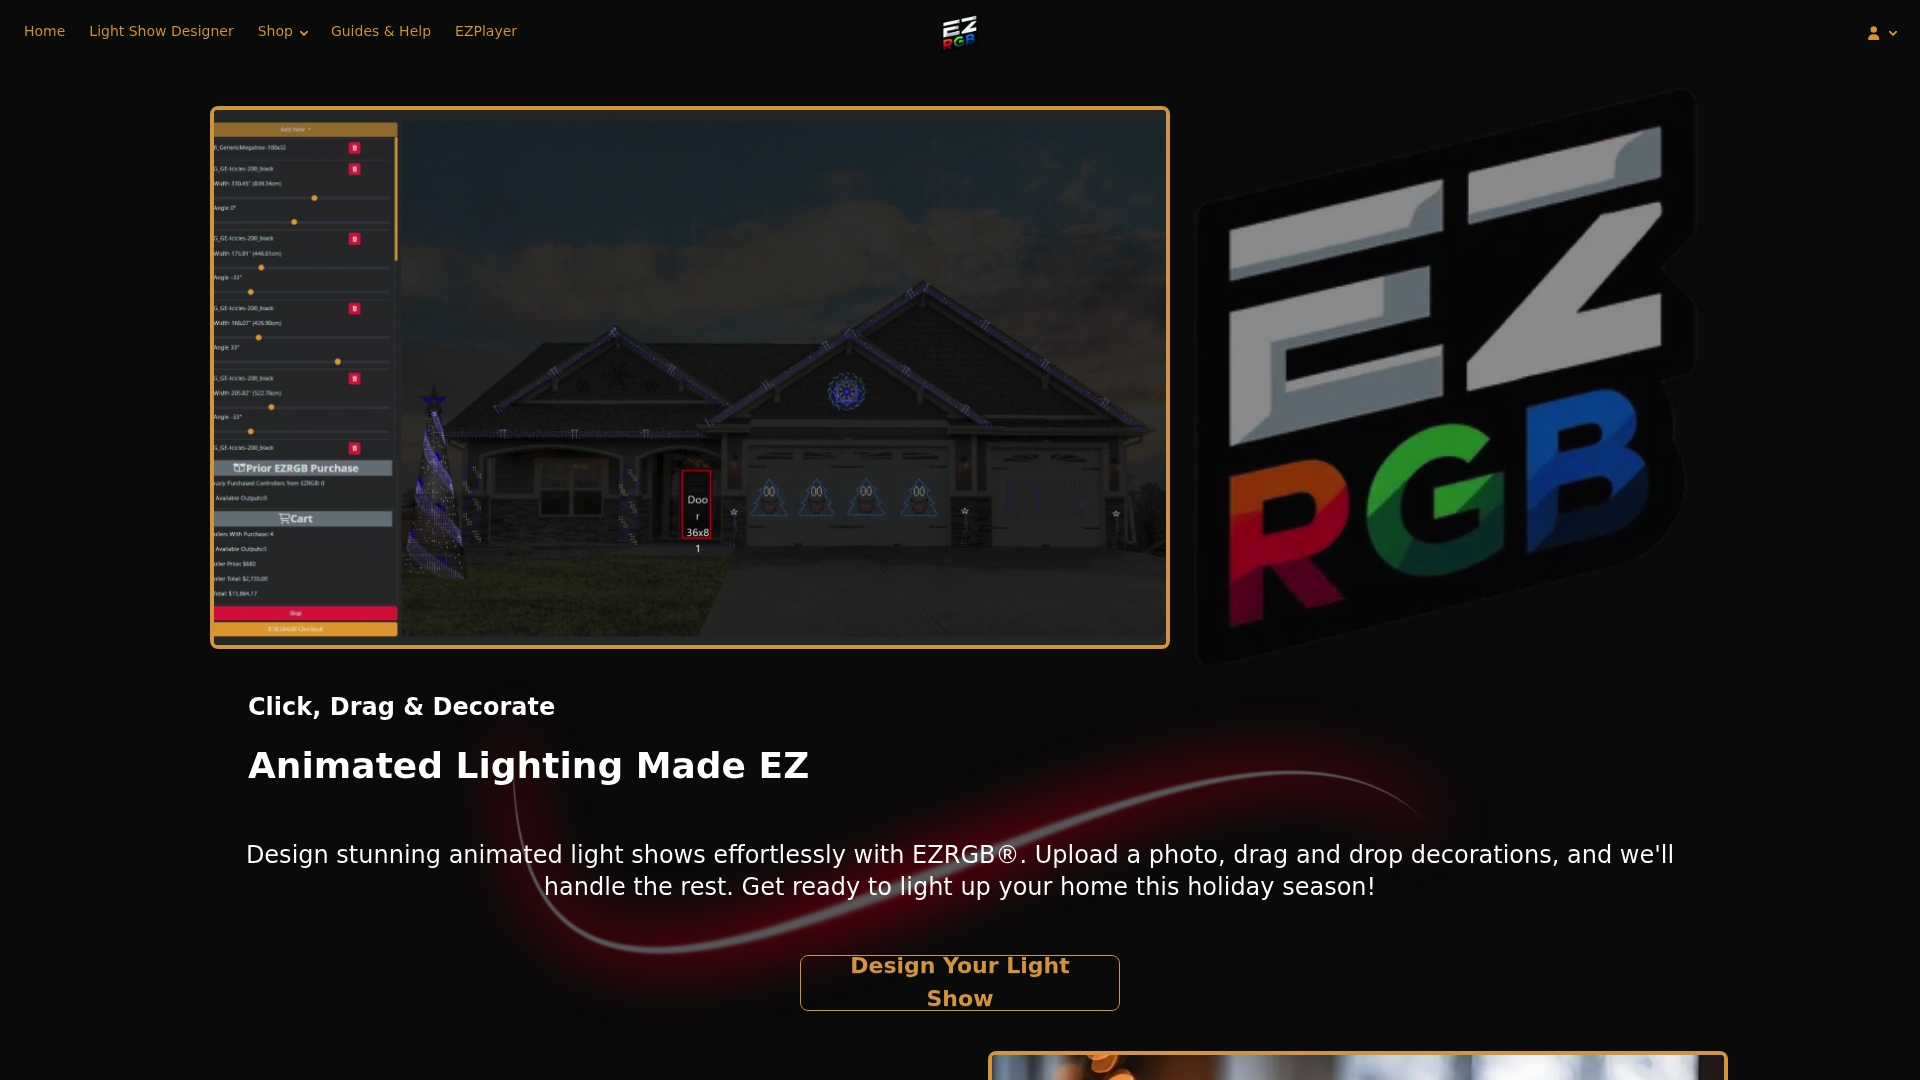
The Plug and Play Kits category covers full display bundles, while Plug and Play Props lets you add a single singing prop to an existing yard setup. Once your hardware arrives, EZSequence handles the timing work and EZPlayer schedules playback and lets you swap songs from your computer.
-
Check Plug and Play Kits for a complete pre-mapped singing display.
-
Browse RGB Sequences and Pixel Pro Displays if you already own props and just need synchronized timing tracks.
-
Pick DIY when you have the time, tools, and patience for soldering and channel planning.
-
Pick a kit when you want a working display without the build weekend.
Start with the Plug and Play Kits page to see what arrives ready to install.
Where to go deeper on singing face builds
For readers who want to see a full DIY build broken down node by node, the CSO Online singing tree walkthrough covers hardware and wiring in detail. The AusChristmasLighting wiki compares coro, wire-frame, and matrix builds side by side, and the xLights setup guide walks through the software steps in order.

For the plug-and-play side of things, our post on whether EZRGB props actually sing answers the most common questions about kit capabilities.
Sources
-
How to make singing tree faces for holiday light show | CSO Online
-
How to Setup Singing Faces in xLights? - Best Christmas Light Displays
FAQ
How many singing faces should I start with?
Most hobbyist guides recommend starting with just one or two faces rather than a full choir, since community discussion on Light-O-Rama’s forum notes that each added face multiplies your channel count and controller load. Add more faces later once your first one is running reliably.
Do I need smart pixels for a singing face?
No, plenty of singing faces run on standard dumb RGB nodes wired to a DMX controller rather than individually addressable smart pixels. Smart pixels give finer per-pixel control for matrix-style faces, but a basic coro build with a handful of channels works fine with standard nodes.
What’s the quickest fix for audio and mouth movement drifting out of sync?
Play your isolated lyric clip by itself first to check whether the gap exists in the source audio before you touch the sequence. If the clip itself is clean, recheck your channel mapping, since a wiring mismatch often looks like a timing problem but is actually pixels firing on the wrong assignment.
Is Papagayo required for xLights singing faces?
No, Papagayo is one import option but not a requirement. The xLights manual also supports native phrase import and lets you check for unknown words either way before finalizing your timing track.
Can I skip mapping entirely with a pre-built kit?
Yes, EZRGB’s plug-and-play kits arrive pre-mapped, so you connect the controller and load a sequence through EZPlayer instead of building a face model from scratch. Check the Plug and Play Kits page for currently available singing prop options.