
Holiday Light Display Layout Tips for Families
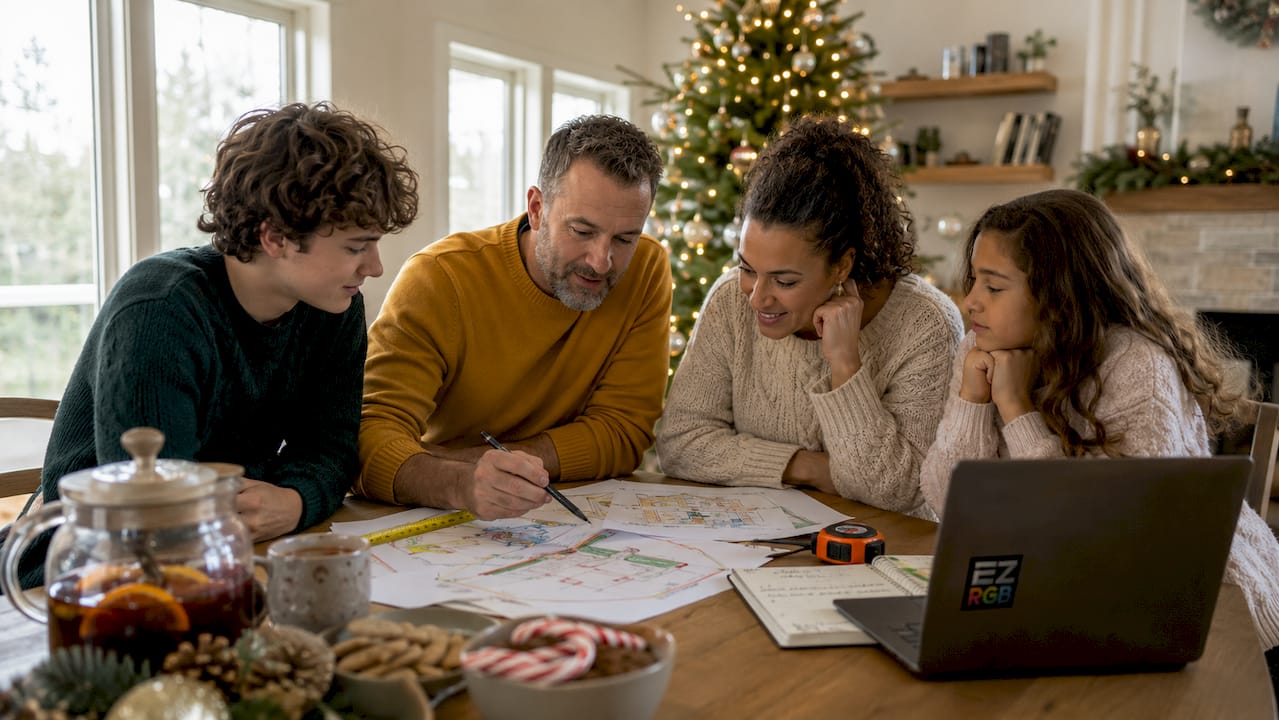
Good holiday light display layout tips are the difference between a display that looks polished and one that looks thrown together. Effective outdoor holiday lighting design, as professionals call it, combines accurate property measurement, smart bulb selection, and deliberate layering to create a festive scene that feels intentional. This guide walks you through every step, from sketching your property diagram to balancing power loads, so your family can enjoy a display that looks great, runs safely, and draws compliments from the whole street.
What Are the Best Holiday Light Display Layout Tips?
The single most effective tip is to plan your display before you buy anything. Whether you’re creating a traditional display or a fully animated Christmas light show, taking time to design your layout first prevents ordering the wrong materials and makes installation much easier.
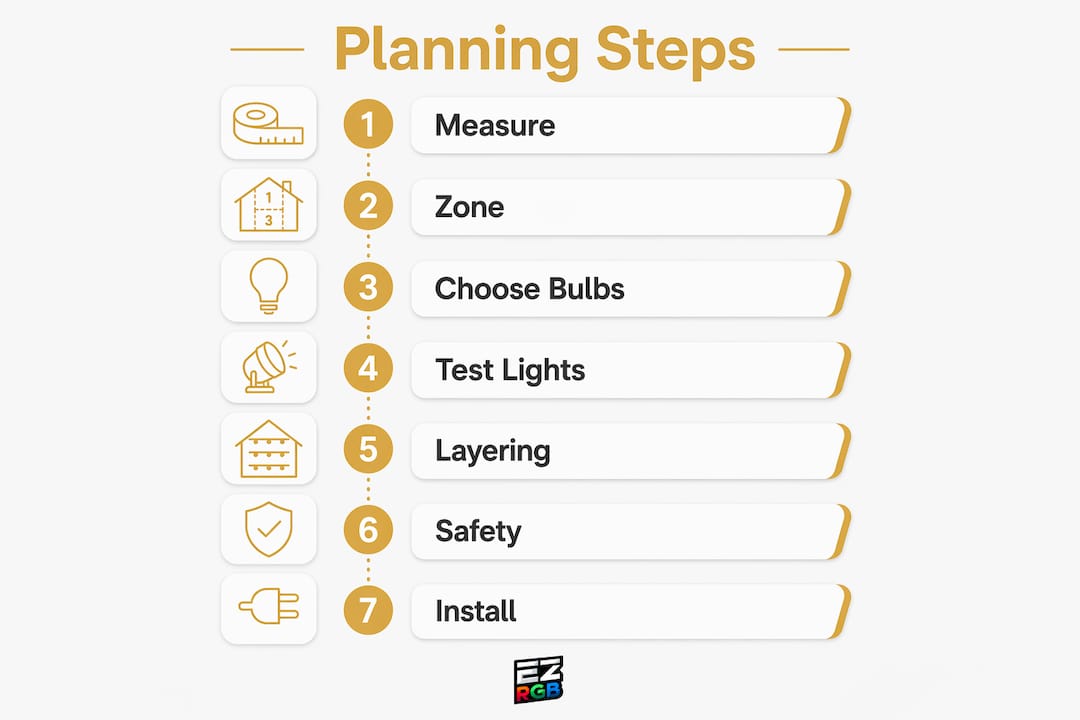
Start with these planning steps:
-
Measure your roofline. Measure every horizontal run, including gutters, peaks, and gables. If you’re using the EZRGB Designer, you’ll only need a one reference measurements (typically the front door) after uploading a photo of your home, and the platform will help scale the rest of your layout.
-
Measure trees and landscaping. Note the height of trees, shrubs, and other landscape features you want to decorate. This helps determine where RGB pixel lights or animated props will have the greatest visual impact.
-
Measure pathways and walkways. Determine where arches, candy canes, pathway lights, or other decorations will fit best to guide visitors through your holiday light display.
-
Measure windows and doors. Recording these dimensions helps you decide where outlines, wreaths, or other Christmas lighting features should be placed.
Once you have your measurements, create a simple layout of your property. Divide your display into logical zones such as the roofline, windows, trees, shrubs, pathways, and focal points. This makes it easier to organize your animated Christmas lights and create a balanced design.
With EZRGB, you can take planning one step further by uploading a photo of your home into the EZRGB Designer. Instead of imagining how your holiday lighting will look, you can drag and drop rooflines, pixel decorations, wreaths, arches, and trees directly onto your house, preview your animated Christmas light display, and receive an accurate material list before placing your order.
Planning early—ideally between spring and summer—also gives you the best selection of decorations and Christmas light sequences. By designing your display in advance, you’ll have plenty of time to order materials, preview your animations, and be ready to enjoy a professionally synchronized holiday light show when the season arrives.
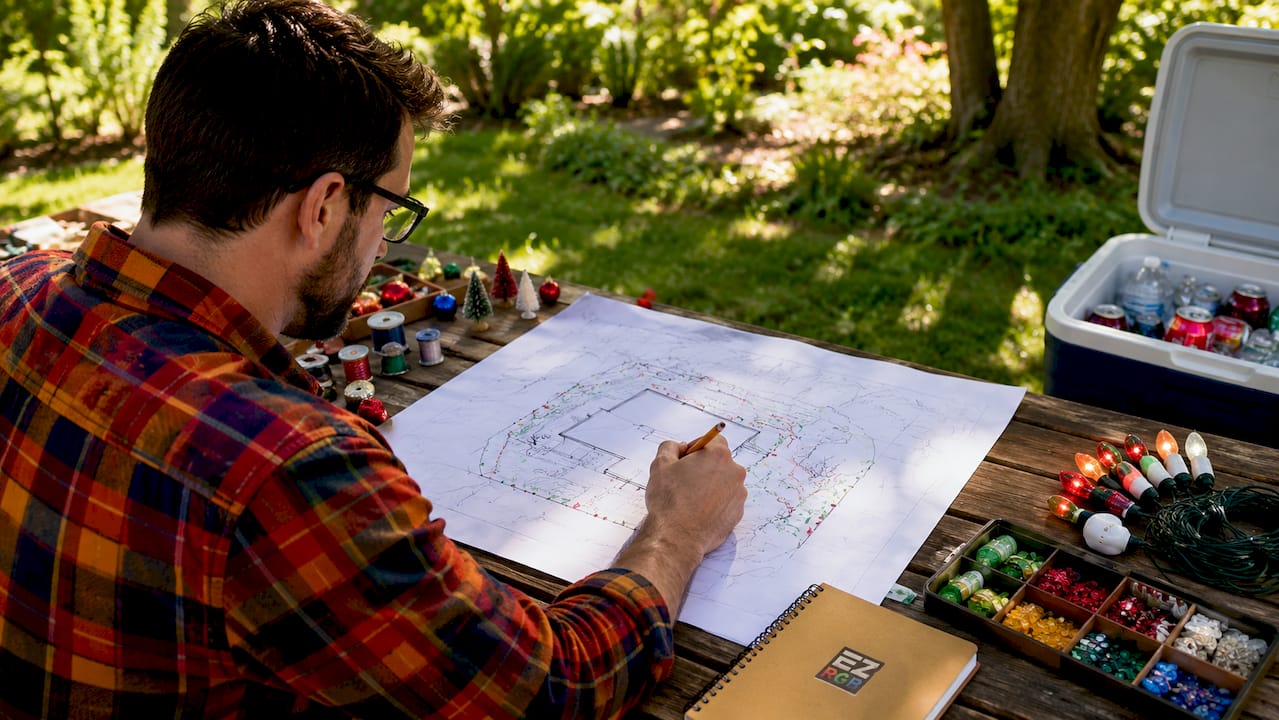
Order 10–15% more clips and fasteners than your measurements suggest. That buffer covers clips that break during installation, sections you decide to extend, and hardware that simply gets lost in the grass.
| Measurement zone | What to record |
|---|---|
| Roofline | Linear feet of gutters, peaks, and gables |
| Trees | Height in feet and trunk circumference |
| Shrubs | Width and height for net light sizing |
| Pathways | Total length from street to entry |
| Windows and doors | Perimeter in feet for each opening |
Pro Tip: Photograph each zone of your home from the street before you measure. The photo helps you spot architectural features you might miss on the ground, like a decorative peak or a bay window edge.
How do you choose bulb types, spacing, and mounting hardware?
Bulb choice sets the visual tone of your entire display. Standard roofline installations use C9 bulbs on 25-foot strings with 6-inch spacing. That spacing is the professional standard because it creates a balanced visual rhythm without gaps or crowding.
C7 bulbs work well on shorter rooflines and window frames where a slightly smaller profile looks more proportional. C7 strings are the right choice for tree wraps, shrub coverage, and pathway stakes. RGB Pixel nodes are the best choice for the props like candy canes, arches, snowflakes, etc. Each bulb type has a specific job, and mixing them correctly is what separates a professional-looking display from a DIY one.
Color temperature matters more than most homeowners realize. Cool white bulbs read as crisp and modern, which works well for winter-themed displays.
Mounting hardware should disappear into the architecture. Use these clip types for the right surfaces:
-
TuffClips for gutters: These grip the gutter lip without damaging the metal.
-
Shingle tabs: Slide under shingle edges and hold C7 or C9 cords flat against the roofline.
-
Omni Clips: A versatile option that works on gutters, shingles, and fascia boards.
-
Adhesive clips: Use on smooth surfaces like window frames and garage door trim.
Test every light strand indoors before you carry it outside. Defective bulbs and broken strands are easy to spot and replace in your living room. Finding a dead section after you have stapled it to a 20-foot roofline in freezing temperatures is a much harder problem.
Pro Tip: All EZRGB strands are label for easy identification. It lets you know the type and the light count per strand.
| Bulb type | Best use | Standard spacing |
|---|---|---|
| C9 | Rooflines, large trees | 6 inches |
| C7 | Window frames, shorter rooflines | 6 inches |
| RGB Pixel Light | Props like Candy Canes and Mini Trees | Depending on prop usually 2 inches |
| Mega Tree | Center piece | Typical 2" spacing of lights. |
How does layering lighting create a three-dimensional display?
Layering multiple types and heights of lighting builds visual depth that a roofline-only display simply cannot achieve. A flat display reads as one-dimensional from the street. A layered display pulls the eye from the ground up through the trees and across the roofline, creating a scene that feels immersive.
Build your layers in this order:
-
Roofline first: This is the foundational frame. Following architectural lines like rooflines, peaks, and gables creates a visually striking structure that anchors everything below it. Use RGB Lights C7 in the EZRGB Designer
-
Tree trunks and branches second: Wrap trunks from the base upward, then spiral out along major branches. This adds vertical dimension and makes trees look lit from within. Use RGB Lights C7 in the EZRGB Designer
-
Shrubs and ground cover third: Lights draped over shrubs give uniform, even coverage without the tangled look of loose strands. Use RGB Lights in the EZRGB Designer
-
Pathways fourth: Arch lights along walkways guide the eye from the street to your front door and safely light the path for visitors. Use Arches in the EZRGB Designer
-
Accent pieces last: A pixel wreath, star on a tree peak, or any other animated pixel prop from EZRGB acts as a focal point that draws attention to a specific spot.
Balance brightness across layers. Your roofline and trees should carry the most light. Pathway stakes and accent pieces should be noticeably dimmer so the eye moves naturally through the display rather than jumping between competing bright spots. Consistent color temperature across all layers ties the whole composition together.
What safety and power efficiency steps should you follow?
Electrical safety is the part of outdoor holiday lighting that homeowners most often skip until something goes wrong. Moisture infiltration causes most electrical failures in outdoor displays. Always use weatherproof gaskets on every outdoor plug connection.
Follow these steps before you power anything on:
-
Use only outdoor-rated extension cords. Indoor cords are not built for rain, frost, or temperature swings.
-
Install weatherproof plug gaskets on every connection point exposed to the elements.
-
Do not run extension cords through window seals or door frames. This damages the cord insulation and creates a fire risk.
-
Map your circuits before you start. Know how many amps each outdoor outlet can handle and stay well below that limit.
-
Balance your controller loads across multiple circuits. Running everything off one outlet is the fastest way to trip a breaker.
-
Secure all cords to surfaces with clips or zip ties so they do not sag or pool water.
Schedule your show in EZPlayer to reduce electricity costs and to eliminate the late-night light pollution that frustrates neighbors. Reducing your display’s run time is one of the simplest ways to use less electricity without changing a single bulb.
Outdoor holiday displays fail most often at the connection points, not the bulbs. Weatherproof every plug, use outdoor-rated cords, and plan your circuits before installation day. These three steps prevent the majority of display failures and safety hazards.
What common mistakes ruin holiday light layouts?
Most display problems trace back to decisions made before a single bulb goes up. Catching these errors on paper costs nothing. Fixing them on a ladder in December costs time, money, and frustration.
-
Guessing measurements: Estimating roofline length by eye leads to either a shortage that leaves a section dark or an excess that wastes money. Always measure with a tape and enter your door measurement into the designer on EZRGB.
-
Ignoring architectural lines: Lights that do not follow the natural geometry of your home look chaotic. Lighting that traces home geometry reinforces the architecture and improves the overall look.
-
Visible clips and sagging wires: Hardware that shows up in photos or from the street undermines the whole display. Use the right clip for each surface and pull cords taut before securing.
-
Skipping the indoor test: A strand that fails outdoors means climbing back up to diagnose and replace it. Testing strands indoors first takes 20 minutes and saves hours.
-
No power plan: Plugging everything into one outlet and hoping for the best is how circuits trip and displays go dark on the busiest viewing nights.
-
All-night operation: Lights running until 3:00 AM annoy neighbors and burn through bulbs faster. A schedule set to 10 PM solves both problems.
Pro Tip: Before finalizing your layout, stand at the street and photograph your home in daylight. Mark on the photo where each lighting zone will go. This gives you a visual check before you commit to any hardware.
For a broader look at common home styling mistakes that apply beyond holiday lighting, the same principles of proportion, line, and balance hold true year-round.
Key Takeaways
A well-planned holiday light display depends on accurate measurement, correct bulb selection, deliberate layering, and safe power management working together from the start.
| Point | Details |
|---|---|
| Measure first | Once entered correctly in EZRGB it will avoid shortages. |
| Plan in spring | Order your show and clips between march and may to secure preferred products before backorders. |
| Layer for depth | Combine roofline, tree wraps, pixel props, and pathway stakes to build a three-dimensional scene. |
| Use weatherproof hardware | Weatherproof gaskets and outdoor-rated cords prevent the majority of outdoor display failures. |
| Run timers to 10 PM | EZPlayer schedule cuts electricity costs and reduce neighbor complaints without sacrificing impact. |
What I have learned from planning hundreds of holiday displays
The homeowners who get the best results are not the ones with the biggest budgets. They are the ones who plan before they buy anything. Every display we have seen go wrong started with someone eyeballing measurements and ordering lights.
Layering is the single technique that separates a display people slow down to look at from one they drive past. A roofline alone is a line. Add tree wraps, shrubs, and pathway arches, and suddenly you have a scene with foreground, midground, and background. That depth is what makes a display feel professional.
Consistent bulb spacing is the detail most homeowners underestimate. Irregular gaps read as careless, even when every other element is done well. Pull a cord taut, clip it at even intervals, and the whole display looks intentional. The family holiday decorating checklist approach, where you assign zones and tasks before installation day, is what keeps the process from becoming stressful.
The last thing worth saying: be a good neighbor. A beautiful display that runs until 4:00 AM is not a gift to your street. Set a schedule, keep the brightness proportional to your lot size, and your display will be welcomed rather than tolerated.
— EZRGB Team
EZRGB makes your next display easier to plan and build
Planning a holiday light display from scratch takes time, but the right tools and products make it much faster. EZRGB offers a full range of custom socket wires and clips designed for clean, professional roofline layouts that follow the techniques covered here.
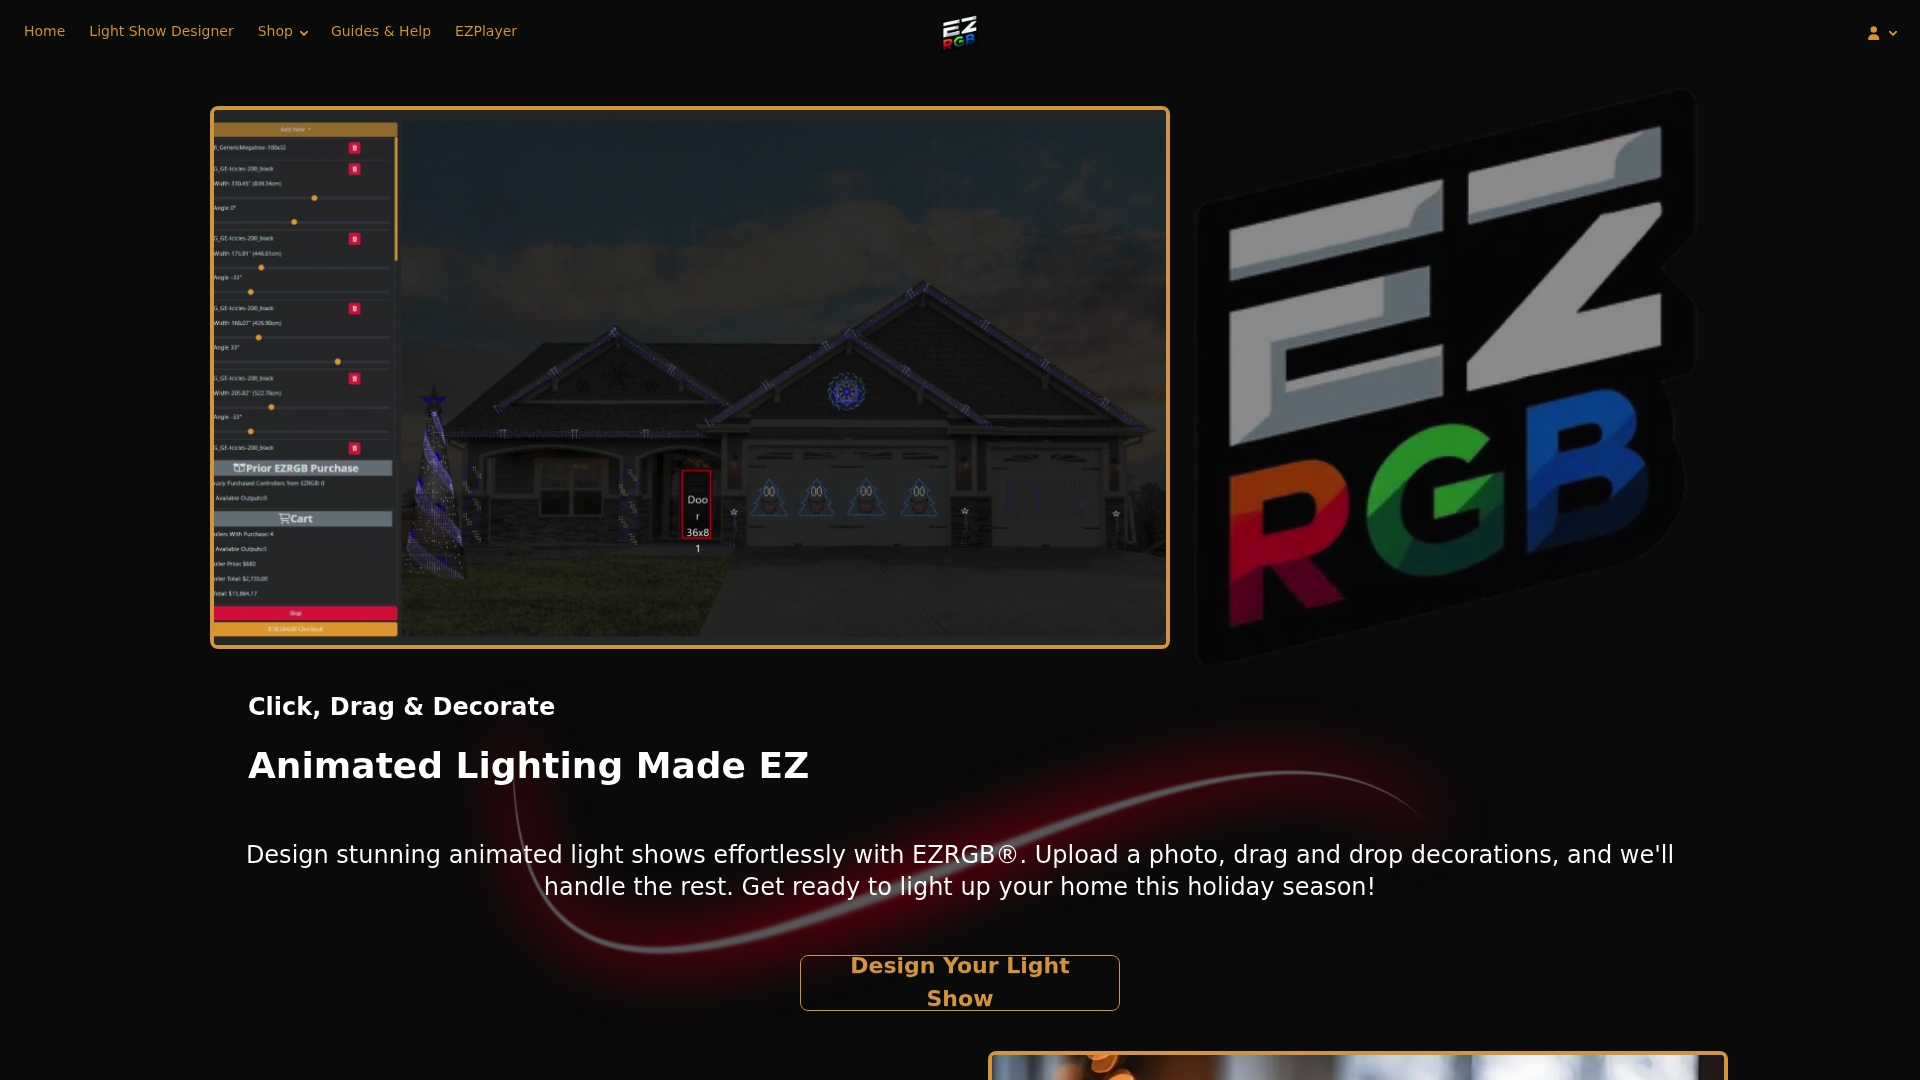
For families ready to go beyond static lights and into animated displays, EZRGB’s platform lets you upload a photo of your home, place pixel props, and sync everything to music without any technical background. The guides and tutorials walk you through every step, from your first zone map to your first animated sequence. Visit EZRGB to see the full product range and find the kit that fits your home and your budget.
FAQ
What is the standard spacing for roofline holiday lights?
The professional standard is 6-inch spacing for C9 bulbs on 25-foot strings. Consistent spacing creates visual rhythm and makes roofline displays look clean and intentional.
When should I start planning my holiday light display?
Plan and order between march and may. Most serious decorators secure their preferred lights and clips by summer to avoid backorders and limited selection in the fall.
How many extra clips should I buy?
Buy 10–15% more clips and fasteners than your measurements require. That buffer covers breakage, extensions, and hardware lost during installation.
How do I prevent outdoor electrical failures?
Use weatherproof gaskets on every outdoor plug connection and outdoor-rated extension cords throughout. Moisture infiltration at connection points is the leading cause of display failures.
What is the easiest way to add depth to a holiday light display?
Layer roofline lights, tree and shrub wraps, and pathway arches. Combining these four elements builds a three-dimensional scene that reads as professional from the street.