How to Budget with EZRGB: Your Year-by-Year Plan
The most practical way to budget for an EZRGB animated light show is to start with one focal kit, use the EZRGB Light Show Designer’s live pricing to lock your exact costs before checkout, then add props each year while EZSequence and EZPlayer automatically reconfigure your sequences. You don’t need to plan the whole show upfront. You just need to plan this year’s piece of it.
Here’s what that looks like in practice:
-
Year 1 starter: One kit (the Christmas Light Show Kit 1 or Front Yard Essentials Kit 1) typically puts you in the $700–$2,000 range for a foundational display of roughly 800–2,000 pixels.
-
Year 2 add-on: A single focal prop or roofline extension, log back into the website and continue to use the designer to add more props and watch the live pricing, The system will not charge you for props and controllers you already own. Also, the system will use available connections on your controller before adding another.
-
Year 3 and beyond: Scale to a medium or larger display by adding props the Designer already knows about, letting EZSequence remap channels without starting from scratch.
Three tools make this phased approach work: the EZRGB Light Show Designer (EZ Designer), which shows live kit and prop prices as you build your layout; EZSequence, which generates and reconfigures sequences for your exact layout; and EZPlayer, which handles cloud playback, scheduling, and pushes sequence updates when you add new props.
Pro Tip: Before you spend a dollar, upload a photo of your home into the Designer, drag a few props onto the roofline, and watch the live price total update in real time. That number is your actual budget, not an estimate.
Table of Contents
How does the EZRGB Designer workflow help you budget?
The EZRGB platform is built around a three-step loop: Designer → EZSequence → EZPlayer. Understanding how those three connect is what makes phased budgeting predictable rather than guesswork.
Step 1: Design and price in the Designer
You start by uploading a photo of your home into the EZRGB Light Show Designer. From there, you drag and drop props onto your roofline, yard, windows, or trees. As each prop lands on your layout, the Designer shows live pricing for that kit or component. The running total updates with every addition, so you see exactly what your cart will cost before you ever reach checkout. No surprises, no back-of-the-envelope math.
Step 2: Generate sequences with EZSequence
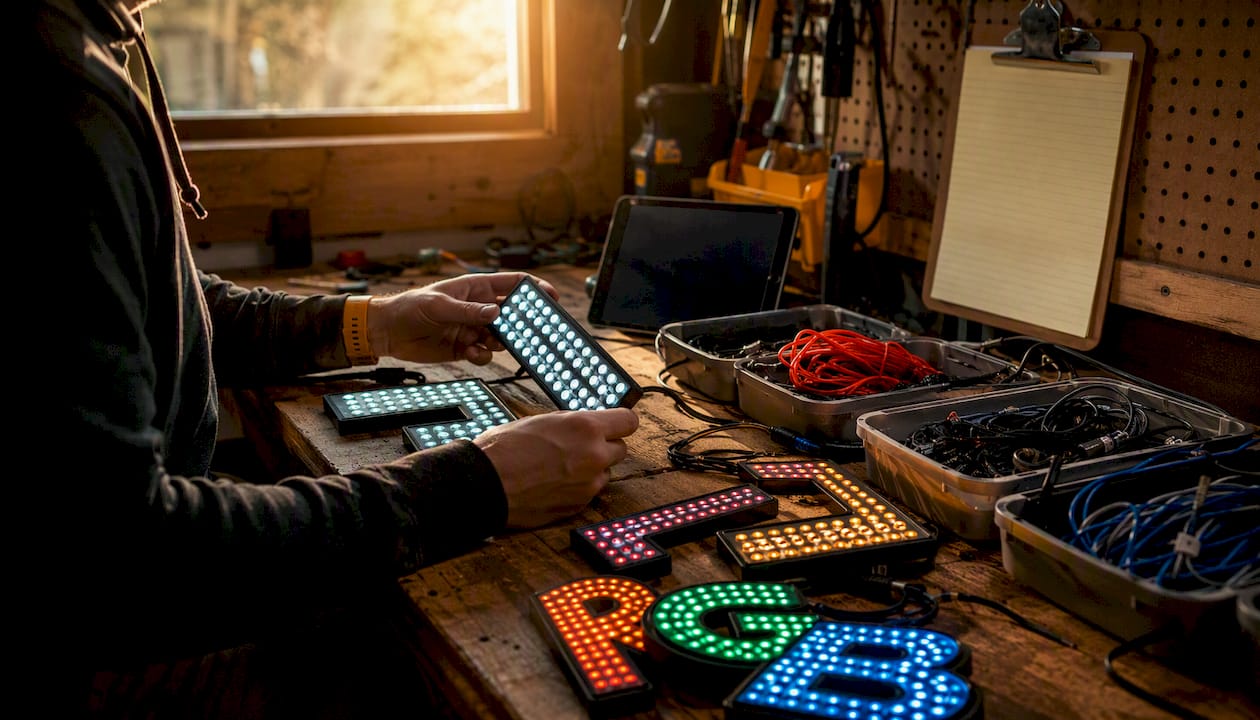
Once your layout is set, move to purchasing your sequences or songs. EZSequence generates a synchronized light sequence to your specific prop arrangement. It accounts for every pixel position you’ve placed, so the resulting sequence fits your home, not a generic template. When you add props in a future season, EZSequence reconfigures the existing sequence to include the new channels rather than forcing you to rebuild from zero.
Step 3: Schedule and update with EZPlayer
EZPlayer is the cloud-connected playback show player that runs your show. You use it to schedule songs, sync your purchased EZRGB sequences, and manage what plays and when. When you expand your display and EZSequence generates an updated sequence, EZPlayer receives that update to your player remotely. No rewiring. No re-uploading files manually. The show updates and keeps running.
Every EZRGB kit includes a ready-to-use controller, preinstalled pixel props, and pixel extension cords. That bundled approach means your upfront cost covers everything you need to run a show on night one, and your incremental costs in future years are limited to new props and sequences rather than replacing infrastructure.
What do EZRGB kits and props actually cost?
Animated pixel lighting costs more upfront than traditional incandescent or LED string lights, but the comparison shifts quickly once you account for what you’re getting: music-synchronized color animation across 16 million colors, a cloud-connected controller, and a platform that grows with you. Static string lights don’t do any of that.
The industry rule of thumb for pixel-based displays is roughly around $1.75 per finished pixel when you total pixels, controller, power, and wiring. That baseline helps you estimate scaling costs before you open the Designer.
-
Roofline Special: — A focused roofline kit; one of the most popular first buys because it creates immediate visual impact on the most visible part of your home.
-
Front Yard Essentials Kit 1: — Covers yard-facing props and is well-suited to homeowners who want ground-level presence without committing to a full roofline install.
-
Christmas Light Show Kit 1: — A complete starter bundle that includes controller, preinstalled pixel props, cables, and sequences. Covers the foundational elements of a synchronized show.
| Kit / Prop Type | Typical Initial Cost | What’s Included | Setup Time | Storage & Maintenance | |
|---|---|---|---|---|---|
| Roofline Special | $599 | Controller, roofline pixels, cables | 2–4 hours | Low; modular storage | |
| Front Yard Essentials Kit 1 | $1299.99 | Controller, yard props, cables | 2–5 hours | Low; stackable bins | |
| Christmas Light Show Kit 1 | $999.99 | Full controller, pixel props, cables | 3–6 hours | Moderate; label components | |
| Individual plug-and-play props | $89-$750 | Preinstalled pixels, one 25’ cable (still needs controller) |
30 min per prop | Low per unit | |
| Multi-kit expanded display | Estimated in Designer | Multiple controllers, high-density props, full coverage | 1–2 days | Higher; dedicated storage |
Preassembled, plug-and-play kits cost more upfront than buying raw components, but they save hours of wiring and troubleshooting. For most homeowners, that trade-off is worth it, especially in year one when the learning curve is steepest. The live pricing in the Designer makes it easy to compare a preassembled kit against a component build and decide which fits your budget and your available time.
How do you plan a 3–5 year EZRGB budget?
The most common mistake homeowners make with animated lighting is trying to price the whole show before they’ve run a single season. A phased plan is more realistic and protects your budget from scope creep.
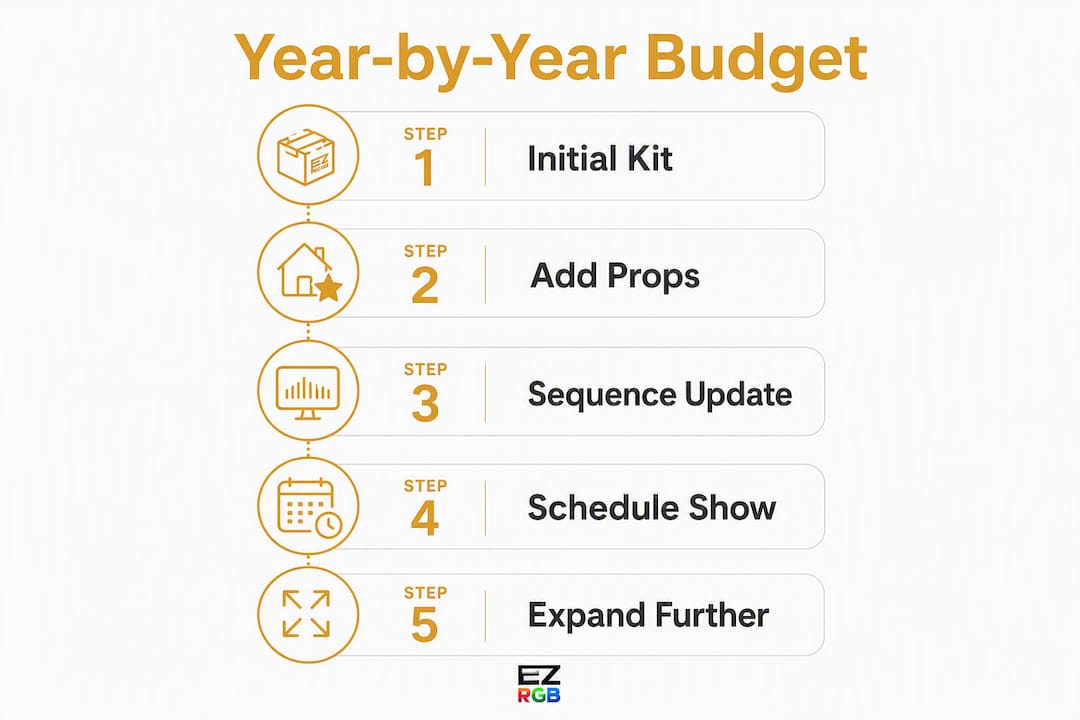
A few planning rules that hold across all three phases:
-
Prioritize focal props first. A roofline or a yard tree creates more visual impact per dollar than spreading pixels thinly across multiple small elements.
-
Amortize infrastructure costs. The controller, power supply, and cabling you buy in year one serve the whole show for years. Only props and sequences are truly incremental costs.
On financing: EZRGB’s checkout process is worth reviewing before you commit to a single-season purchase. Spreading a larger kit purchase across a payment plan can make a $1,500 starter kit more accessible without forcing you to start smaller than you’d like.
What’s on your pre-checkout budgeting checklist?
Running through this checklist inside the Designer before you place an order takes about 20 minutes and can save you from the most common and costly mistakes.
Before checkout:
-
[ ] Upload your home photo and measure your front door for scale in the Designer
-
[ ] Mark focal areas (front door, yard trees, windows) before adding props
-
[ ] Estimate cost for each zone using the Designer’s placement tools
-
[ ] Review the live pricing line items for each kit and prop you’ve placed
-
[ ] Keep in mind the designer figures out Controllers, pixel cables for a complete plug and play setup.
Money-saving tips:
-
The designer will reuse your controller every year. It’s the most expensive single component, and EZRGB kits are designed so the controller stays while props expand.
-
Choose preinstalled props for your first focal element. The time you save on year-one setup is worth the price premium.
-
Buy focal props before accent props. A single well-lit roofline or mega tree outperforms a dozen small scattered elements.
-
Shop for sequence bundles in the off-season. EZRGB sequences are available year-round, and buying outside of November and December sometimes surfaces better options.
-
EZSequence reconfigures your sequences when adding props rather than having to do it manually.
Pro Tip: Design just one element first, such as your roofline or a single yard tree, buy that kit, and spend one full season getting comfortable with EZSequence and EZPlayer. You’ll know exactly what you want to add in year two, and the Designer will already have your layout saved.
How does EZRGB support your show as it grows each year?
One of the practical advantages of the EZRGB platform over static string lights or incandescent displays is that your earlier investment doesn’t become obsolete when you expand. The platform is built to remember and update.
Designer saved layouts
EZRGB saves your show design so that when you return the following year, your existing prop placements are intact. You open last year’s layout, add the new prop you budgeted for, and the Designer immediately shows the updated live price for the expanded configuration. That continuity is what makes year-over-year budgeting reliable: you’re always pricing an addition, not a replacement.
EZSequence reconfiguration
When new props are added to a saved layout, EZSequence remaps existing channels and assigns fill-in sequencing to the new pixels. This means your existing songs and sequences carry forward with the new props integrated, rather than requiring a complete rebuild. The sequencing workflow is designed specifically for this kind of incremental growth.
EZPlayer cloud updates
EZPlayer handles the deployment side. Once EZSequence generates the updated sequence file, EZPlayer receives it via the cloud. You can also use EZPlayer to adjust your schedule, add or remove songs, and manage playback without touching the physical controller. For homeowners who set up their display in October and want to make changes in December, that remote access is a genuine convenience.
A simple year-by-year example: In year one, you install the Christmas Light Show Kit 1 and run your first season. In year two, you open the Designer, add a plug-and-play yard tree prop, review the updated live price, and order. EZSequence reconfigures your sequences to include the tree. EZPlayer pushes the new show to your controller. Your display is bigger, your sequences are updated, and your controller from year one is still doing its job.
What does a typical EZRGB setup timeline look like?
Setting realistic time expectations helps you plan labor costs and decide whether to hire installation help or handle it yourself.
Year 1: First install
-
Upload home photo and complete layout in the Designer: 30–60 minutes
-
Order kit and wait for delivery: 5–10 business days (plan accordingly)
-
Physical installation of roofline pixels, props, and cables: 2–6 hours depending on display size
-
Connect controller, sync sequences, and test playback in EZPlayer: 1–2 hours
-
Schedule songs and confirm timing in EZPlayer: 30 minutes
Year 2 and beyond: Annual expansion
-
Open saved layout in the Designer, add new props, review live pricing: 20–30 minutes
-
Order new props and receive delivery: 5–10 business days
-
Physical install of new props and cable runs: 1–3 hours
-
EZSequence reconfiguration for updated layout: handled automatically
-
EZPlayer receives updated sequences and schedule confirmation: 30 minutes
On professional help: hiring someone for the physical installation typically runs $50–$150 per hour depending on your region and display complexity. For a first-year roofline install, two to three hours of help can be worth the cost if you’re not comfortable on a ladder. In year two, most homeowners handle the expansion themselves because the process is familiar and the new prop count is smaller.
Starting with one EZRGB kit, using the Designer’s live pricing to control costs, and expanding one prop at a time each year is the most reliable way to build an animated light show without overspending.
Why phased buying is the right call for most homeowners
The conventional advice for holiday lighting is to buy everything at once and get it done. For animated pixel lighting, that approach often leads to overspending in year one and underusing what you bought because the learning curve is steeper than expected.
The EZRGB platform is designed around the opposite philosophy: start with one element, learn how EZSequence and EZPlayer work together, and add to the show when you’re ready. The Designer’s live pricing makes that approach concrete rather than abstract. You’re not guessing at costs or hoping a quote is accurate. You’re seeing the exact price of each prop and kit as you place it, which means your budget is a real number, not a range.
What most homeowners underestimate is how much the platform’s memory reduces the cost of expanding. Because EZRGB saves your layout and EZSequence reconfigures rather than rebuilds, the incremental cost of adding a prop in year two is genuinely incremental. You’re paying for the prop and its sequence update, not for starting over. That’s a fundamentally different cost structure than buying a new set of static lights every season or hiring a professional installer to redesign your display from scratch each year.
The per-pixel rule of thumb ($1.75 per finished pixel) is a useful planning number, but the Designer’s live pricing is the authoritative one. Use the rule to estimate; use the Designer to decide.
Ready to see your budget in real time?
The fastest way to move from planning to a real number is to open the EZRGB Designer, upload a photo of your home, and place one kit on your layout. The live pricing updates immediately, so you’ll know your year-one cost in under an hour without committing to anything.
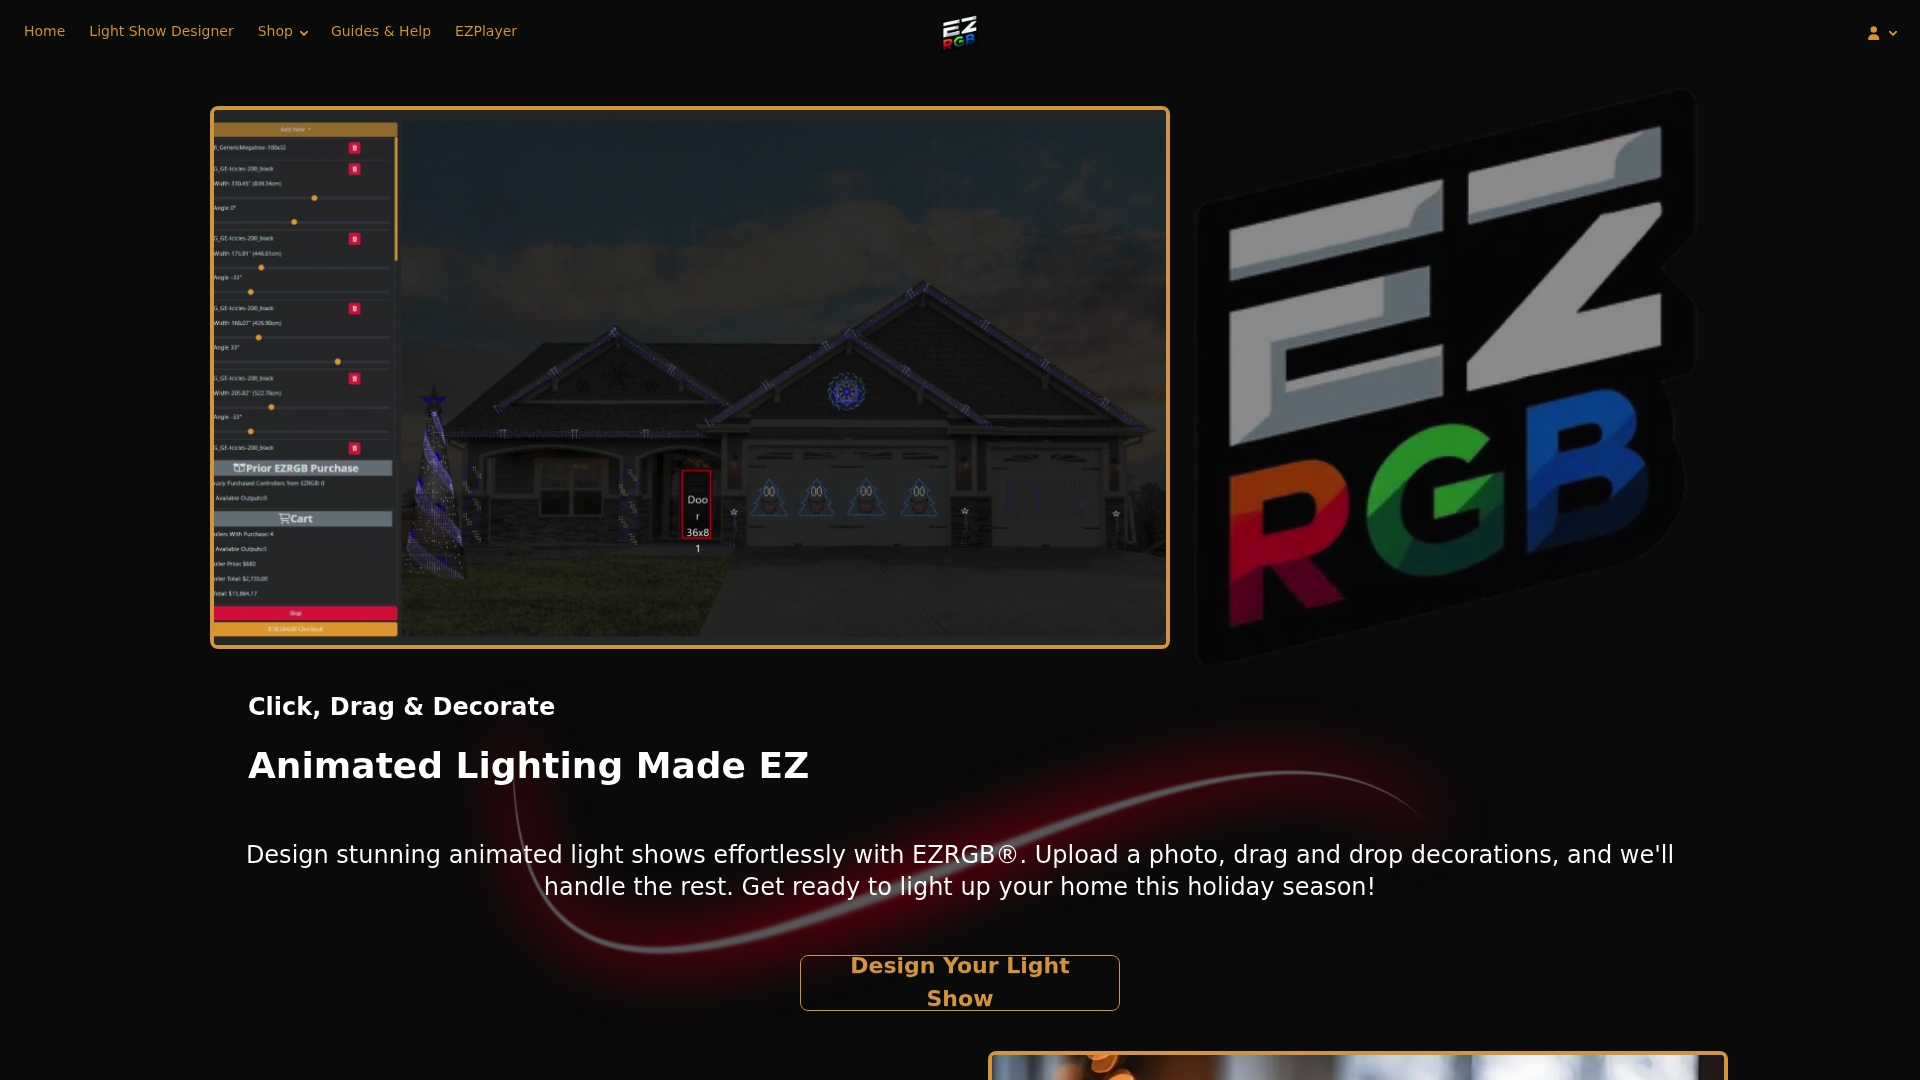
For homeowners starting out, the Roofline Special and the Front Yard Essentials Kit 1 are the two most common first purchases. Both include everything you need to run a synchronized animated show on night one: controller, preinstalled pixel props, cables, and sequences. If you want a complete bundle that covers more of your front yard from the start, the Christmas Light Show Kit 1 is the natural step up.
Visit EZRGB.com to open the Designer, browse kits, and review live pricing for your specific layout. If you have questions about which kit fits your home or your budget, the Guides and Help section covers the Designer, EZSequence, and EZPlayer in detail.
Useful sources
These links let you verify the pricing rules, pixel cost estimates, and setup guidance referenced in this article.
-
EZRGB Light Show Designer guide: Explains how live pricing works in the Designer and how to build your layout step by step.
-
EZRGB Guides and Help: Central hub for EZPlayer setup, EZSequence documentation, and scheduling instructions.
FAQ
How much should I budget for my first EZRGB light show?
A starter display typically costs $600–$2,000 in year one, including the kit, controller, cables, and sequences. The EZRGB Designer shows live pricing as you build your layout, so you’ll see your exact cost before checkout.
Can I add props to my EZRGB show in future years without starting over?
Yes. EZRGB saves your show layout, and EZSequence reconfigures your sequences when new props are added, remapping existing channels and integrating the new pixels. EZPlayer then receives the updated show and reprograms your controller via the cloud.
Do I need to buy a new controller every year as I expand?
No. Controllers are figured into the designer. As you add the system will trigger another controller if needed for your display, only props and sequences are truly incremental costs year over year.
How long does it take to set up an EZRGB display for the first time?
A first-year install typically takes 4–8 hours total: 30–60 minutes in the Designer, 2–6 hours for physical installation, and 30 minutes for controller setup and EZPlayer configuration. Annual expansions in subsequent years usually take 2–4 hours because the layout is already saved and EZSequence handles reconfiguration automatically.