
Yes, Beginners Can Build an Animated Christmas Display
You can build an animated Christmas display this year, even if you have never touched a controller or opened a sequencing program. Plug-and-play platforms like EZRGB’s layout designer, EZSequence, and EZPlayer have replaced the manual programming that used to scare off first-timers.
Here’s what to actually expect:
-
Time: A first small display takes 3 to 6 hours total, spread across a weekend.
-
Cost: A starter setup runs roughly $600 to $1,500 depending on how many props you buy.
-
Skill: Zero programming. You need to plug in cables and drag props on a screen.
Pro Tip: The fastest beginner route is a layout designer paired with an auto-generated sequence and a cloud player, so you skip both the design guesswork and the manual mapping entirely.
Key Takeaways
Beginners can build a working animated Christmas display in a single weekend by pairing plug-and-play hardware with cloud-based sequencing and playback tools.
| Point | Details |
|---|---|
| No programming required | Layout designers and auto-generated sequences replace manual coding for a first display. |
| Budget for $600 to $1,500 | A small starter setup covers props, a controller, power supplies, and cabling. |
| Start small and scale | Begin with around 50 lights and add props in future seasons as you learn the system. |
| Safety comes first | Use GFCI outlets, outdoor-rated cords, and weatherproof enclosures before powering anything on. |
| EZRGB removes the hardest steps | Its layout designer, EZSequence, and EZPlayer handle mapping and scheduling so beginners skip manual programming. |
Table of Contents
-
What Equipment Do Beginners Need for an Animated Christmas Display?
-
Is It Safe to Set Up an Outdoor Animated Light Display Yourself?
-
How Much Does a Beginner Animated Display Cost and Take to Set Up?
What Equipment Do Beginners Need for an Animated Christmas Display?
A working animated display comes down to four things: pixel props, a controller, cabling, and a show player. Skip any one of them and the show doesn’t run.
Core hardware:
-
Pixel or RGB props (icicles, matrix panels, spinners) or addressable LED c9s, since these are what actually animate instead of just glowing one color.
-
A controller that’s either preprogrammed or compatible with a show player like EZPlayer.
-
Weatherproof extension cords and connectors rated for outdoor use.
Software and playback: EZPlayer handles cloud-based scheduling so your show turns on and off automatically.
Optional extras include audio transmitter if you want visitors to hear the music from their car radio. None of it is required for a first show. Start with the core four, then add.
How Do You Plan and Build Your First Animated Light Show?
You don’t need a blueprint. You need five steps, done in order.
-
Design (30 minutes). Upload a photo of your house into a layout designer, then drag props onto your roofline and windows. Pro Tip: Take the photo straight on and during daylight. Angled shots make prop placement harder to line up later.
-
Buy (ordering plus delivery time). Choose a starter kit or a handful of props and a controller sized to match. Pro Tip: EZRGB figures out all cabling so you don’t run short mid-install.
-
Install (1 to 3 hours). Mount your props, route weatherproof cabling to outdoor-rated outlets, and test power before you finish mounting anything. Pro Tip: Test every prop with a simple color loop before you screw it into place. Fixing a bad connection is much easier on the ground.
-
Sequence (5 minutes). Purchase an EZSequence mapped to your specific layout. Experienced decorators rarely sequence from scratch. Most map an existing sequence to their props instead, and mapping generally takes about two hours versus the many hours per minute of music that hand-sequencing demands. Pro Tip: Auto-mapping tools like EZSequence save the most time here. They read your layout and assign the sequence to your actual prop positions instead of a generic template.
-
Play (10 to 20 minutes). Load your sequence into EZPlayer, set a nightly schedule, and run a short test loop before opening night. Pro Tip: Run the full loop once after dark.
Why a Plug-and-Play Platform Beats Building From Scratch
Traditional show-building means learning a sequencing program, manually mapping every prop, and troubleshooting timing by hand. A platform like EZRGB removes each of those steps for you.
The layout designer works from a photo of your actual house instead of a generic template, so prop placement matches your real rooflines and windows. EZSequence then generates a sequence mapped to that layout automatically. EZPlayer keeps everything running from the cloud, so scheduling nightly showtimes or swapping songs takes a few clicks instead of a re-render.
When you’re comparing starter options, check for these:
-
A layout tool that works from your own home photo, not a stock template.
-
Access to premade auto-mapping sequences.
-
Cloud-based scheduling to change your show.
-
Weatherproof hardware included, not sold separately as an afterthought.
-
Support resources you can actually reach when something doesn’t sync right.
The whole point of EZSequence and EZPlayer is that the mapping and scheduling happen for you. You upload a photo, place your props, and the system handles the technical translation between your layout and the light pattern.
Is It Safe to Set Up an Outdoor Animated Light Display Yourself?
Yes, as long as you follow basic outdoor electrical rules. Outdoor animated displays run on standard household power, but water and extension cords are a bad mix without the right protections.
-
Plug into GFCI-protected outlets only.
-
Use outdoor-rated extension cords, never indoor ones.
-
Mount props securely so wind doesn’t pull connectors loose.
EZRGB controllers are built in IP-rated weatherproof enclosures. Seal every outdoor connection with dielectric grease.
Pro Tip: Check your HOA rules before you install anything visible from the street; some communities also require a quick permit sign-off if you’re running amplified music for a public-facing show.
How Much Does a Beginner Animated Display Cost and Take to Set Up?
A small first-year display typically costs a few hundred dollars, depending on prop count and whether you buy a kit or piece it together yourself. Controllers, power supplies, and cabling usually make up a third of that, with props filling the rest.
-
Shopping and delivery: a few days to a few weeks, depending on the vendor.
-
Install day: 1 to 3 hours for a small display.
-
Sequencing and dry run: 30 minutes to 2 hours.
You can start with as few as 50 lights and scale up in later seasons, and spacing matters more than pixel count for a small yard: 1 inch spacing works for viewing distances under 40 to 50 feet, 2 inch spacing for 40 to 75 feet, and 3 inch spacing beyond that. Reusing your hardware and sequence library each year cuts both the cost and the setup time dramatically after year one.
What Are the Most Common Beginner Mistakes to Avoid?
Most first-year problems trace back to four things: power, loose connection, no network, and forgetting to set the player schedule before the first night.
When something isn’t working, run through this order:
-
Check power at the outlet and confirm the GFCI hasn’t tripped.
-
Trace your cabling for loose or corroded connectors.
-
Check the controller’s status lights and confirm it’s connected to your network.
-
Run a short test sequence to isolate whether the problem is hardware or sequencing.
If one prop stays dark while everything around it works, that’s almost always a loose connector rather than a bad controller. Start there before you assume anything’s broken.
Why beginners succeed faster today than a decade ago
Cloud-based tools and premade sequences have quietly erased most of the old barriers. You no longer need to learn a sequencing language or manually map every pixel by hand. Active decorator communities also mean help is usually a search away, and nearly every family that starts small ends up adding a few props each season.
Ready to Build Your First Show With EZRGB?
EZRGB’s Christmas Light Show Kit 1 skips the guesswork entirely: props, a preprogrammed controller, power hardware, and sequence mapping all arrive as one package, unlike piecing together separate parts from a hardware store and a sequencing forum.
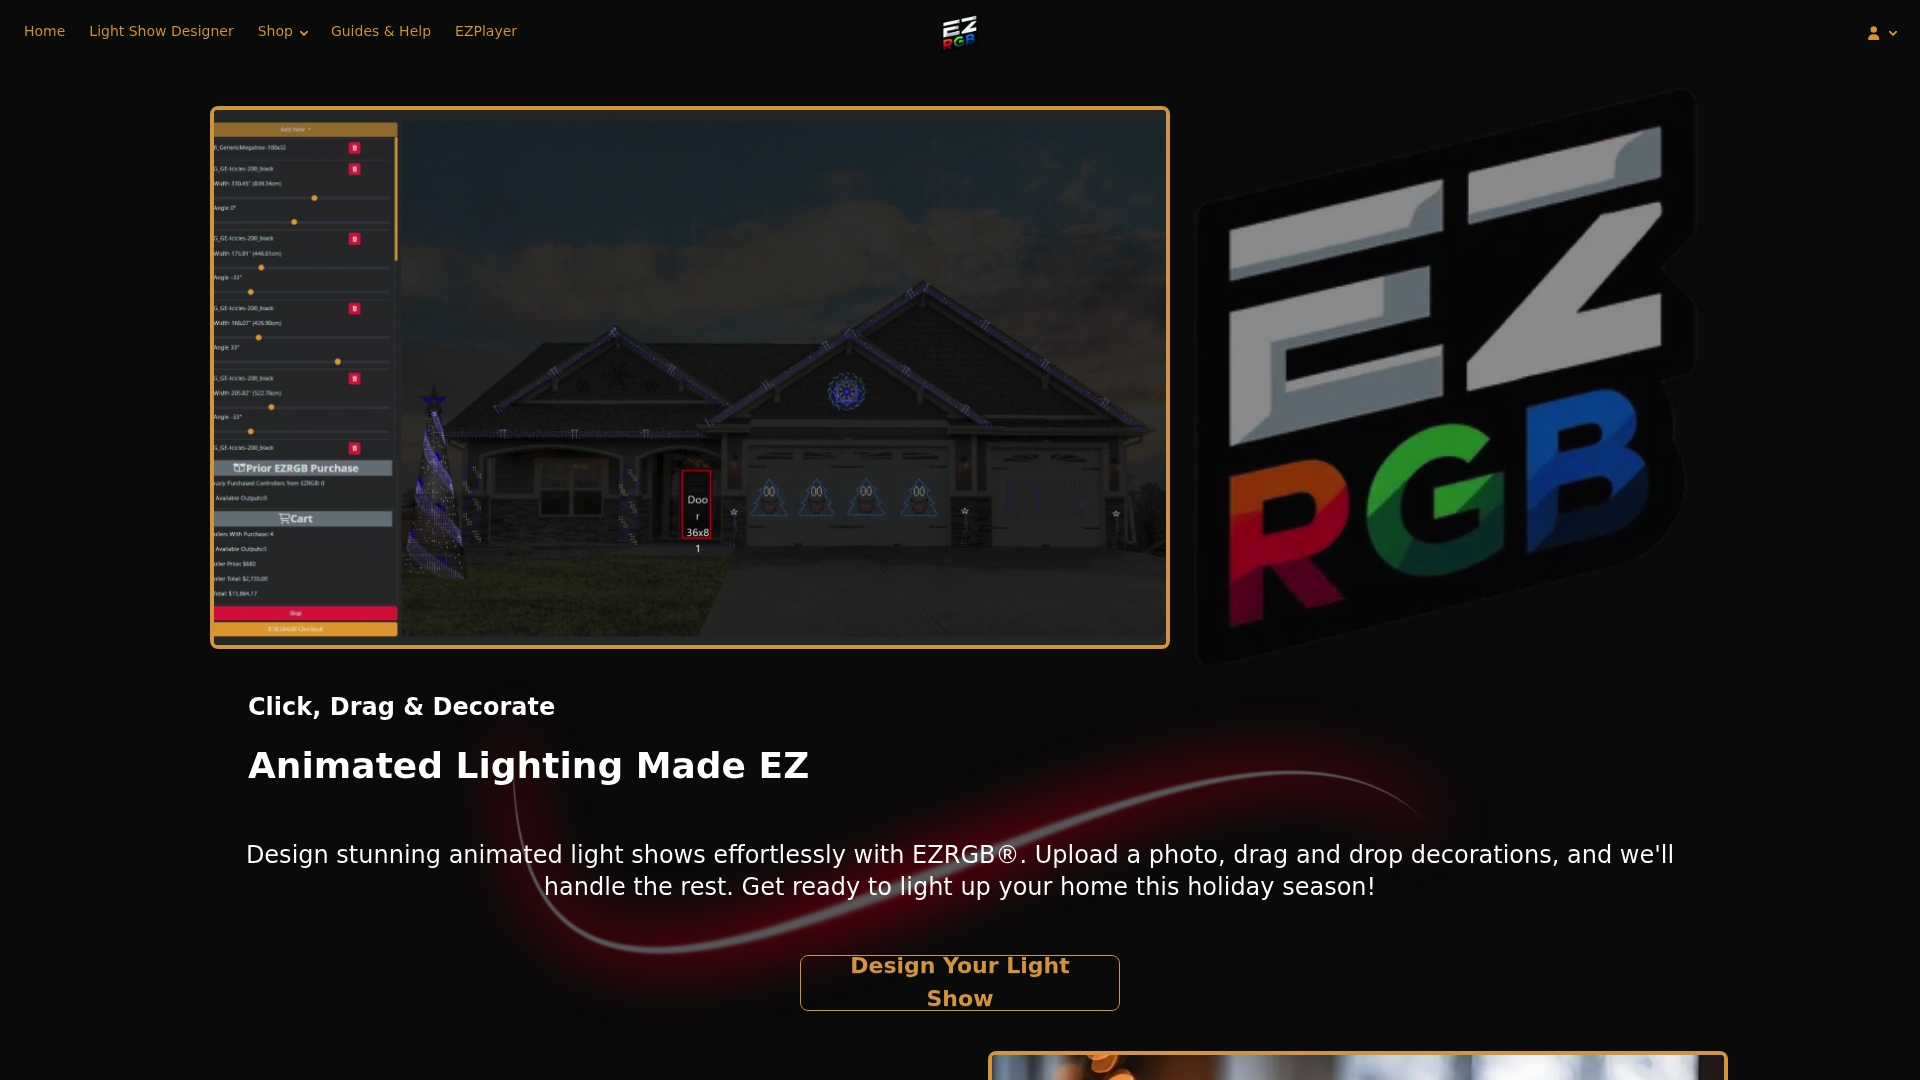
What makes it work for someone with zero technical background is the same three-step chain covered above: upload a photo into the layout designer, let EZSequence generate a sequence matched to your exact prop placement, then hand scheduling over to EZPlayer’s cloud dashboard. No render times, no manual mapping, no sequencing software to learn.
If you want to see the full range of starter kits and themed props before you commit, browse the EZRGB product lineup and pick the size that matches your first-year budget.
Sources
FAQ
Can a complete beginner really build an animated Christmas display?
Yes. Plug-and-play platforms like EZRGB handle layout design, sequence mapping, and playback scheduling, so no programming experience is needed.
How much does a first animated display cost?
A small starter setup typically costs $600 to $1,500, covering props, a controller, power supplies, and outdoor-rated cabling.
Do I need to learn sequencing software to sync lights to music?
No. Tools like EZSequence auto-generate a sequence mapped to your layout, and many beginners import premade sequences instead of building one from scratch.
How many lights should a beginner start with?
Roof Line is a reasonable starting point and can be as low as 50 lights, with spacing chosen based on viewing distance before scaling up in future years.
Is it safe to install an animated display myself?
Yes, if you use GFCI-protected outlets, outdoor-rated cords, and weatherproof enclosures, and check HOA rules before installing anything visible from the street.