
Build a Pro Small Yard Light Show in a Day With EZRGB
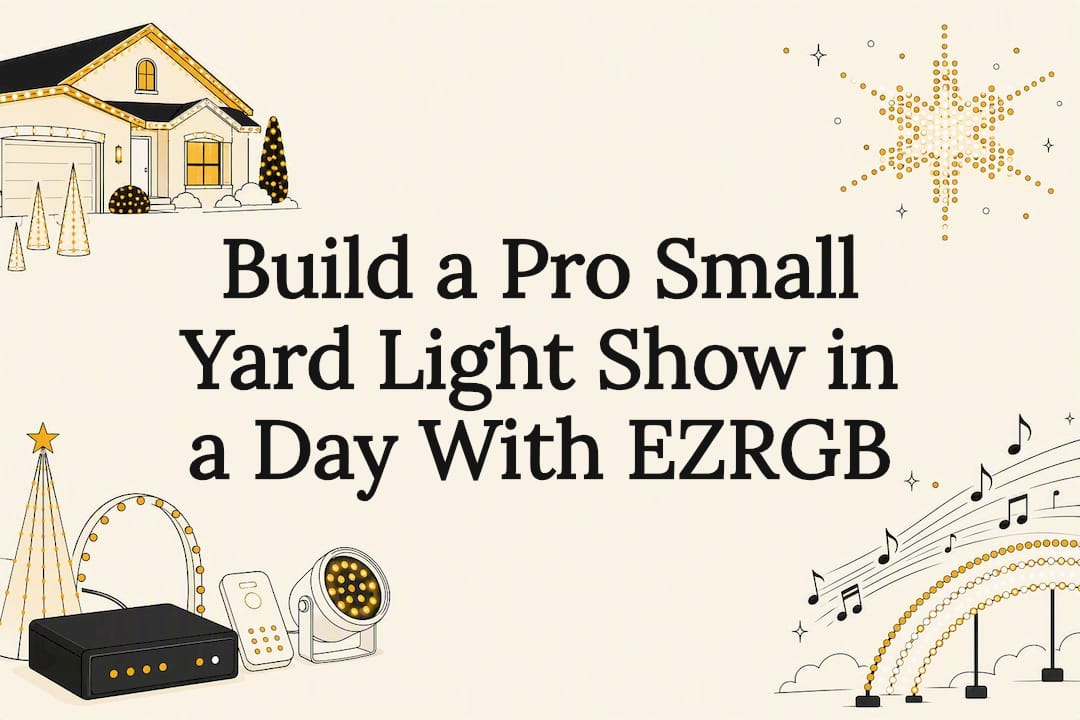
The best small yard light show pairs one animated pixel focal prop, like a mega tree or roofline outline, with a single synced accent such as a wreath or bushes. You can design the layout, generate the sequence, and schedule playback with EZRGB in under a day, no hobbyist wiring experience needed.
Small yard light shows benefit most from a single animated focal prop paired with one synchronized accent to maximize impact within limited space.
Budget ranges from under $500 for basic RGB strands to over $700 for multi-prop, fully controlled displays with scheduled playback.
Planning and pre-season checks on power, data connectivity, and safety are crucial to prevent common failures during the show.
EZRGB simplifies design and sequencing by enabling layout mapping from photos and auto-generating effects, significantly reducing setup time.
Starting with one focal prop and expanding gradually each year is the best approach for beginners to learn and upgrade efficiently.
What Makes a Small Yard Light Show Feel Big?
You don’t need a huge house or thousands of lights to create an animated holiday display that gets attention. In a smaller yard, the key is choosing a few highly visible areas and making good use of movement, color, and music.
In fact, starting small can be an advantage. Fewer props mean less wiring, fewer pixels to install, and a much easier display to learn and manage.
Here are a few ideas that work especially well for smaller displays:
-
A mini mega tree. A pixel tree can become the centerpiece of the entire show. Because every pixel can be controlled individually, one tree can display color changes, spirals, wipes, patterns, and effects synchronized to music.
-
An animated roofline. Outlining the front roofline with pixels creates a clean display during slower portions of a song and can become highly animated when the music picks up.
-
A wreath or singing prop. One prominent prop near the front door or center of the house can provide a strong focal point without filling the entire yard.
-
Window outlines. Outlining a few windows adds definition to the house and gives sequencing effects multiple places to move across the display.
-
Pixel arches. One or two small arches can create impressive sweeping and chasing effects without taking up much yard space.
-
Walkway pixels. Pixels along a sidewalk or driveway can move effects toward and away from the house and make a small display feel deeper.
-
A few coordinated props. Rather than covering every available space, choose several props that work together. Effects moving from one prop to another can make the entire display feel larger.
A good first animated display doesn’t have to fill every empty area. Think about where people will naturally look first and build around that focal point.
One of the advantages of planning a display with a system such as EZRGB is that you can start with a smaller design and expand it later. Adding another roofline, tree, arch, or yard prop in a future season doesn’t mean you have to start over.
How Do You Plan Your Budget, Timeline, and Safety?
Before buying lights, spend some time deciding what you actually want your first display to do.
For a beginner, it’s usually better to complete one or two animated areas successfully than to purchase enough equipment for the entire house and become overwhelmed by the installation.
Your budget should account for more than just pixels. A typical animated display can include:
-
Addressable RGB pixels
-
A pixel controller
-
Power supplies
-
Extension cables and data cables
-
Mounting strips or other mounting hardware
-
Props
-
A computer or show player
-
Sequences or sequencing software
This is also why planning the display before purchasing equipment can be helpful. With the EZRGB Designer, for example, you can use a photo of your home to plan where compatible lighting and props will go. As you build the design, the system can help determine the hardware needed to create it.
Start With a Display You Can Finish
Your first project might simply be a roofline, a small mega tree, or a few props around the front of the house. Once you understand how pixels, controllers, sequences, and your show player work together, expanding the display becomes much easier.
Many animated displays grow over several seasons. The roofline you install this year can still be part of the show when you add arches, trees, singing characters, or other props later.
Don’t Forget Outdoor Electrical Safety
Animated lighting is still outdoor electrical equipment, so proper installation matters. Use equipment and connections rated for outdoor use, protect circuits appropriately, keep electrical connections protected from water, and follow the manufacturer’s requirements for your controllers, power supplies, and lighting.
If you’re unsure about the electrical requirements for your installation, consult a qualified electrician rather than guessing.
Pixels vs. Traditional Lights: What Does Your Display Need?
One of the first things a beginner should understand is the difference between traditional holiday lights and addressable RGB pixels.
With a traditional light strand, the entire strand—or a section of it—generally behaves as one group. You can turn it on and off, and some products provide basic flashing or color-changing effects.
Addressable pixels are different.
Each pixel can be controlled individually. Your sequencing software can tell one pixel to be red, the next one blue, another one off, and then change all of them a fraction of a second later.
That’s what makes effects such as chases, waves, spirals, wipes, twinkles, and music synchronization possible.
You don’t necessarily have to convert everything to pixels at once. Traditional lights can still be part of a holiday display. But if your goal is to create a fully animated show where effects travel across your house and props in time with music, addressable pixels provide much greater control.
For beginners, one pixel-based focal point can be a great place to start. A small mega tree, roofline, or group of arches can teach you the basics without requiring you to build an entire house-sized show your first year.
How Does EZRGB Take You From an Idea to a Working Light Show?
Animated holiday lighting traditionally involves several separate steps: designing the display, choosing compatible hardware, configuring controllers, creating a layout, finding sequences, mapping those sequences to your particular props, rendering them, and finally configuring a show player.
EZRGB is designed to bring many of those steps together and make them easier for someone who doesn’t necessarily want animated lighting to become a second job.
1. Design Your Display
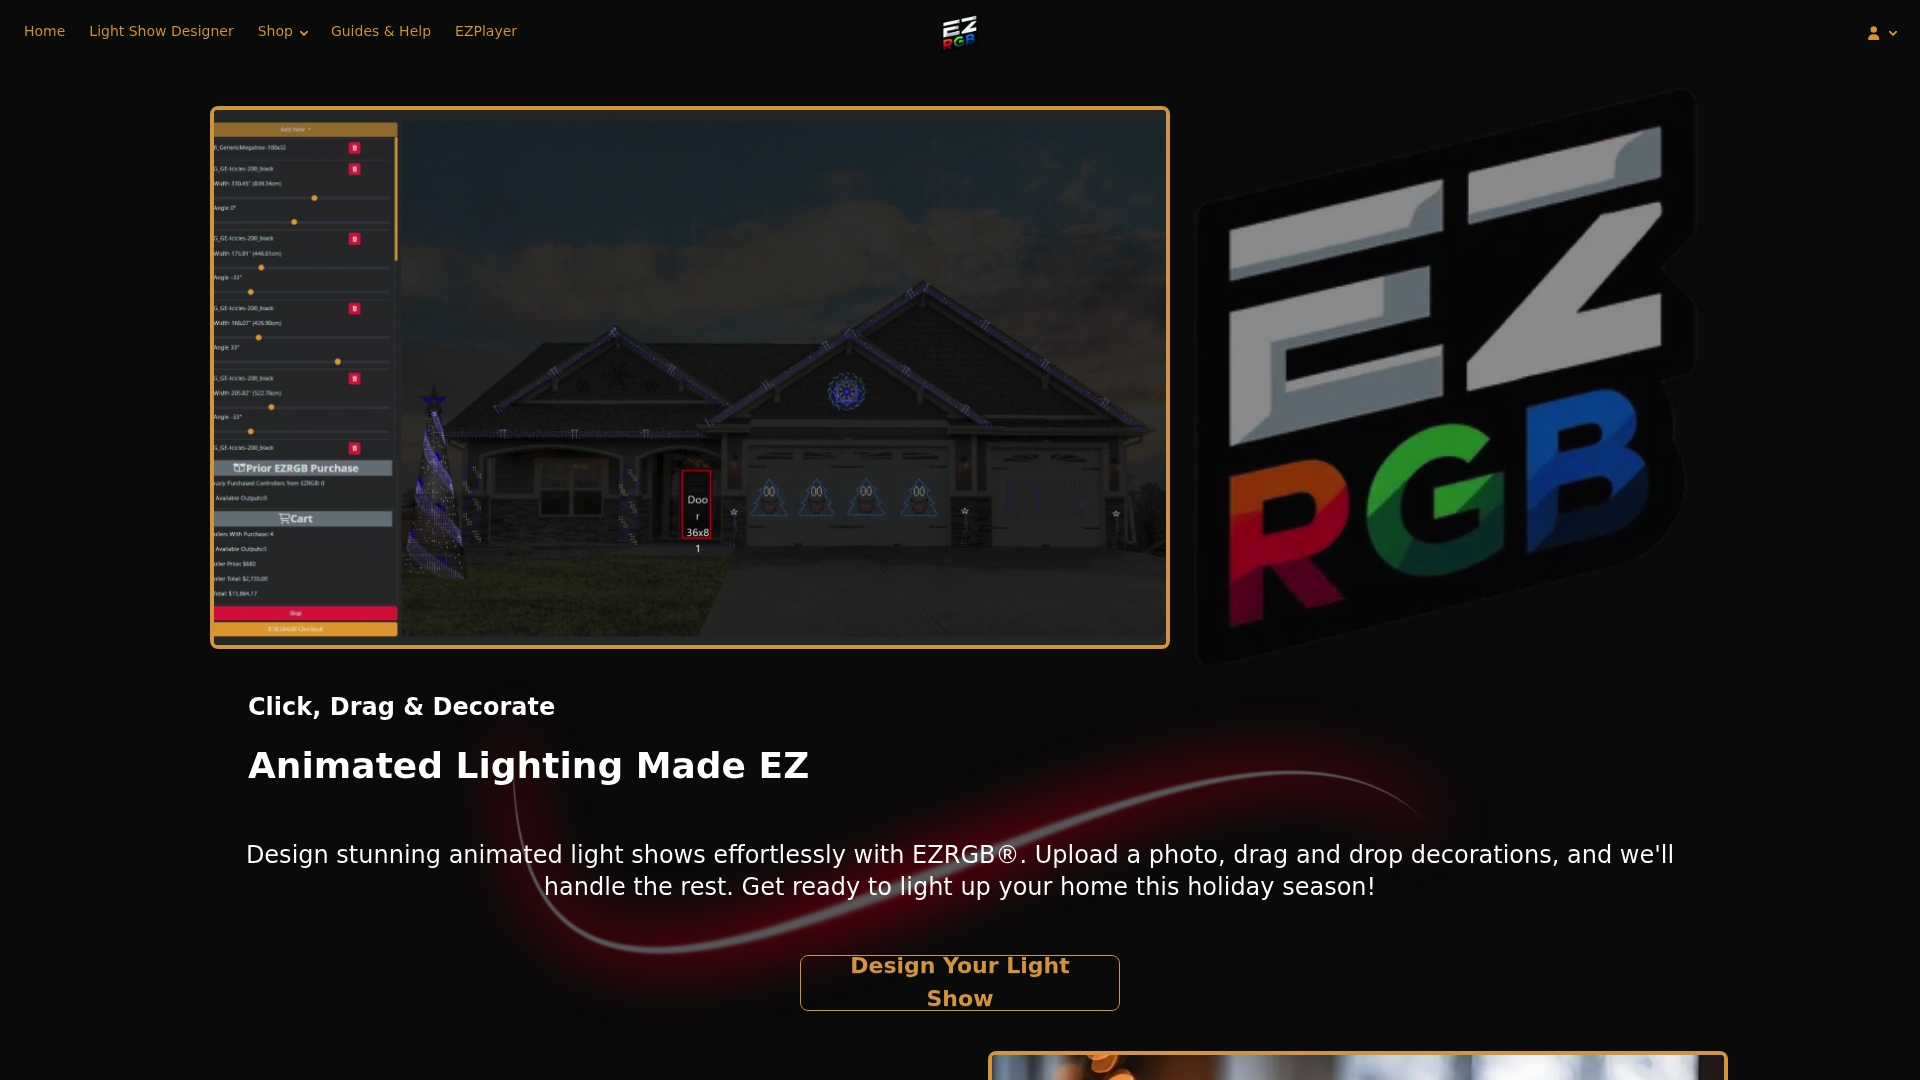
Start with a photo of your home in the EZRGB Designer. After scaling the image, you can place compatible lighting and props onto the photo to see what your display could look like before purchasing everything.
This is particularly useful for a small yard because you can experiment with different ideas. Maybe a mega tree takes up too much space, but two arches and a roofline fit perfectly. You can make those decisions while you’re still designing instead of discovering them during installation.
2. Build the System Around Your Design
As you add lighting and props, EZRGB helps build the system needed to operate them. Instead of expecting a beginner to already know which controller, extensions, pixels, and other components are required, the goal is to make those decisions part of the design process.
That also makes it easier to think about future expansion. You can start with a manageable display today and add additional areas in later seasons.
3. Add Sequences With EZSequence
Once the physical display exists, you need sequences that tell those pixels what to do.
This is where EZSequence comes in.
EZSequence uses information from your xLights layout to understand the props in your display. When you purchase a compatible sequence, the system suggests how the sequence’s effects should map to your particular props.
You aren’t locked into those suggestions. The EZRGB Layout Editor lets you review the mappings and correct them when necessary. This can be especially helpful when you use custom prop names or have several similar props.
Once everything looks right, EZSequence maps and renders the sequence for your display. The result is a finished .fseq file and its matching audio, ready for a show player.
4. Play Your Show
The finished sequence can be used with EZPlayer or other compatible players such as FPP and xSchedule.
EZPlayer is designed to make this part of the EZRGB workflow particularly simple. It can work with your EZRGB account to download sequences, create playlists, schedule your show, and manage playback without requiring you to manually move files around every time you add something new.
5. Expand When You’re Ready
Perhaps the most important thing for someone with a small yard—or someone completely new to animated lighting—is that the first display doesn’t have to be the final display.
Start with a roofline and a couple of props. Learn how everything works. Next year, add a tree. Later, add arches or singing characters.
A good animated lighting system should be able to grow along with your ideas.
Beginner Tip: Don’t judge your display by its pixel count. A smaller number of pixels that are well placed and well sequenced can create a much more enjoyable show than thousands of lights installed without a clear plan.
Lessons From Building Small Yard Shows
The biggest mistake we see beginners make isn’t picking the wrong prop. It’s trying to build the full show they imagined in their head during year one. Start with one focal prop and one accent, run it for a season, and you’ll learn exactly what you’d change before you’ve spent money on the rest.
The other lesson worth repeating: buy your controller with more ports than you need right now. Every homeowner who expanded their show in year two either reused that headroom easily or regretted not having it.
— EZRGB Team
Get Your Small Yard Show Running With EZRGB
EZRGB is built for exactly the project this article walks through: one focal prop, one accent, done right the first time. The photo-based layout designer, EZSequence auto-mapping, and cloud-connected EZPlayer mean you skip the manual sequencing hours that turn most first-time animated shows into abandoned projects.
If you’re ready to build, the Christmas Light Show Kit is sized for exactly the compact roofline or mega tree projects covered above, with pre-programmed sequencing included so you’re not starting from a blank controller. If you want to browse setup walkthroughs and troubleshooting help before you buy, the Guides and Help library covers controller sizing, wiring, and EZPlayer scheduling in more depth. Pick your starter kit, upload a photo of your house tonight, and you can have a designed layout ready before the weekend.
Sources
-
A beginner’s guide to building outdoor light shows (open source tools)
-
Pixel Christmas Lights: An Honest Buyer’s Guide - Your Pixel Store
FAQ
What is the difference between pixel lights and regular string lights?
Pixel lights are individually addressable, so software controls each bulb’s color and timing for choreographed, music-synced effects, while regular string lights display one uniform color across the whole run.
How much does a small yard light show cost to build?
A compact starter project, like a roofline trace of around 450 pixels, commonly runs from the low hundreds to mid hundreds of dollars depending on parts and whether you buy a prebuilt kit.
Can EZRGB sequence my show automatically?
Yes. EZSequence reads your uploaded layout and auto-generates timing and effects mapped to your specific props, cutting out most of the manual sequencing work a hobbyist would otherwise do by hand.
What outdoor light decoration ideas work best for tiny yards or balconies?
A single mega tree, a roofline outline, window frame accents, or a balcony rail strand with small pixel end caps all fit tight spaces while still delivering a focal, animated visual.