
How Many Lights for a House? Map Roofline Pixels for a Light Show

For a holiday light show, the number of lights your house needs depends on the roofline sections you want to outline, the spacing of the selected product and the props you add. Measure each installation path first, then compare those measurements with the actual strand and kit specifications. A generic lights-per-house rule cannot account for different buildings or displays.
This guide focuses on animated exterior lighting. Room brightness and indoor fixture counts answer a different question. For an EZRGB show, keep roofline lighting, extension-cable routes, mounting and separately purchased sequences and music on the same project plan.
1. Decide which parts of the house you want to outline
Start with the viewing position. As a planning recommendation, sketch the front elevation and label each roofline section you want visitors to see. You might begin with the front eaves, then include a porch, gable or another visible feature. The relevant total is the lighting path you actually intend to install, not the house’s floor area.
Record sections separately. Two houses with the same width may have different peaks, corners or covered entries. A simple drawing helps you avoid counting a section twice and gives you a reference when comparing the physical installation with the digital layout.
Include windows, doors and yard props only if they belong in this project. Keeping an optional second phase separate makes the first order easier to check. Expanding later still requires checking the equipment and configuration rather than assuming unused space means unused electrical capacity.
2. Measure the lighted runs and cable routes separately
Measure along the chosen mounting path. Record peaks and angled sections as their own runs instead of substituting the straight-line width of the house. Use a safe measuring method appropriate to the building; do not access a roof just to follow an example in a blog.
Your lighting total and your cable total are different. A cable connecting a controller to a roofline may be necessary without adding visible lights. Record those routes, transitions and connector locations separately so a footage estimate does not hide missing connections.
| Item to record | Why it matters |
|---|---|
| Each lighted roofline run | Determines the intended visible outline. |
| Selected pixel spacing | Connects the measured run to the product’s pixel count. |
| Extension route | Shows how the controller and sections connect. |
| Mounting surface | Helps select supports suitable for this house. |
| Controller and power plan | Must be checked against the selected equipment. |
Do not apply a universal slack percentage or assume every strand can be cut. Use the actual product lengths and installation instructions to decide how to handle corners, leads and any unused length. Ask about the correct arrangement before buying extra strands solely to satisfy a rough calculation.
3. Translate spacing into a preliminary pixel estimate
As a preliminary calculation, convert the lighted run to inches and divide by the planned spacing in inches. At six-inch spacing, a thirty-foot run corresponds to sixty spacing intervals: 30 × 12 ÷ 6. At twelve-inch spacing, it corresponds to thirty intervals.
The exact number of lights depends on how the first and last positions are arranged, strand construction and leads. Treat the calculation as a planning estimate, then compare it with the product’s stated count and usable coverage. It does not determine where you may cut, which connector to use or how to distribute power.
For a verified example, EZRGB’s C9 S24 pixel product is described as a 12V, fifty-pixel string with six-inch spacing and XConnect connectors. Those specifications belong to that product; they are not a default for every light in the catalog.
4. Compare your plan with a specific kit
The current Roofline Special page describes 200 feet of C9 pixel lighting, a Baldrick eight-output controller and four twenty-five-foot pixel extension cords. Its bundle list shows eight fifty-count C9 S24 strings, one controller and four extensions.
Compare that listed equipment with your own measured plan. Two hundred feet in a bundle does not establish that it fits every front elevation or connection arrangement. Ask EZRGB to confirm the configuration when your runs, cable routes or additional props differ from the intended setup.
EZRGB kits include their listed extensions and kit equipment. Mounting is excluded because every house differs. Sequences and music are separate purchases. Include those items when comparing the total project cost, and check current product details rather than relying on a price quoted in an older article.
5. Keep pixel count separate from safe electrical limits
Counting pixels helps describe the display. It does not establish the safe load for a wire, connector, controller output or power supply. Use the actual equipment documentation and a verified wiring plan, particularly when changing cable lengths or adding props.
The CPSC’s holiday-lighting guidance recommends safety-tested lights, checking for damaged sockets and wiring, and extension cords rated for their intended use. Outdoor lights should be labeled for outdoor use and connected through GFCI protection.
This guide does not prescribe a universal power-injection interval or number of pixels per output. Do not transfer a limit from another voltage or product to your system. If an installation requirement is unclear, resolve it with the supplier before mounting or connecting the run.
6. Build the visual layout with EZRGB
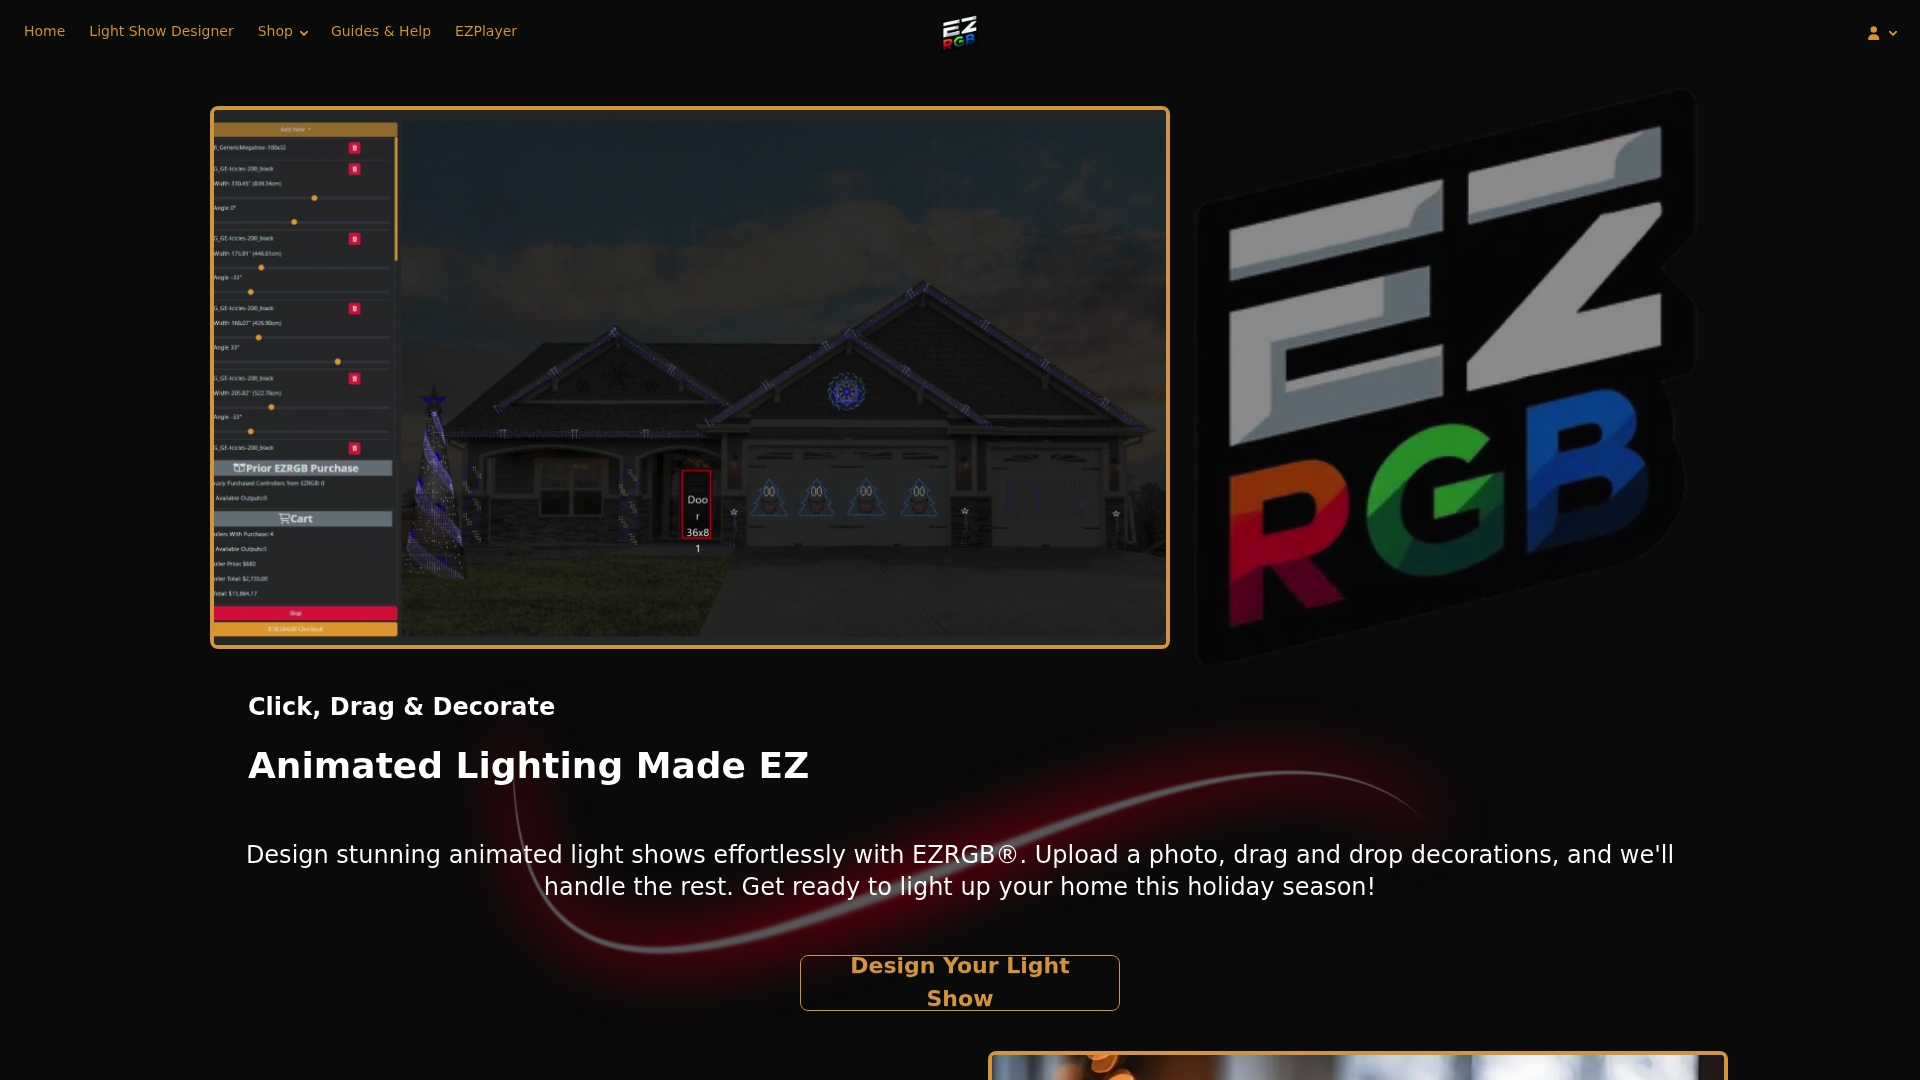
EZRGB’s official workflow describes creating an account, uploading a photo of the home and dragging supported decorations into position. Use the Light Show Designer alongside your measurements to communicate where the roofline sections and props will sit.
A photograph helps with placement, but it does not remove the need to confirm dimensions and equipment. Check that the chosen products and supported models represent your intended outline. For existing custom props or an unusual roofline, ask about compatibility before placing the order.
Browse kits, props and RGB lights for the relevant product information. Avoid substituting a visually similar product without checking its specifications.
7. Plan songs and playback as part of the project
Once the layout and equipment are established, review the sequence catalog and confirm the matching music requirements. Remember that these purchases are separate from the hardware kit. Do not assume a photo-based layout tool creates choreography for any song you choose.
EZPlayer runs prepared show files and associated audio and provides playlists and scheduling. Its official feature page distinguishes local operation from optional cloud registration, and lists automatic mapping, download and installation for EZRGB sequences.
Follow the setup instructions for your actual workflow, then test playback before inviting visitors. As a practical recommendation, start with a manageable playlist, choose considerate viewing hours and keep a record of the layout and equipment used. Those records make later changes easier to discuss with support.
Frequently asked questions
How many lights does an average house need?
There is no single useful count for every house. Measure the selected lighting paths, choose the actual product spacing and compare the result with its strand or kit specifications.
Does the Roofline Special include extensions?
The current product page lists four twenty-five-foot pixel extension cords. Check that those routes fit your installation and confirm any additional requirements with EZRGB.
Does a kit include mounting and songs?
Mounting is selected separately because houses differ. Sequences and music are also separate purchases.
Can I calculate electrical capacity from roofline footage?
No. Footage describes the installation path. Safe electrical limits depend on the selected equipment and its documented wiring arrangement.
Should I outline the whole house in the first season?
Choose a scope you can measure, install and verify. Planning one manageable phase is a practical option, not a requirement; the best scope depends on your building and goals.