
Window Outline Lights: Measure, Mount and Animate With EZRGB

Window outline lights can create a steady seasonal border or become part of an animated pixel show. Start by measuring the installation path, choosing lighting suited to the location, and confirming the mounting and connection requirements. For an EZRGB display, plan supported decorations in the designer, select compatible sequences and matching music separately, and use EZPlayer for playback and scheduling.
The important decisions happen before ordering: which windows to include, how the lights will be supported, where cables will run, and whether the selected equipment supports your intended effects. This guide separates those physical decisions from the software that runs the finished show.
Which lights work for window outlines?
Choose according to the look and control you want. Conventional strings can provide a familiar perimeter outline using the colors or patterns supported by their own controls. Addressable pixels allow individual control, which is useful for prepared animations. RGB describes red, green and blue color mixing; it does not automatically establish that each light is individually addressable.
Bulb shape alone also does not establish control capability. Read the specifications of the actual C9, strip or pixel product instead of treating every product with a similar appearance as interchangeable. Confirm compatibility with the controller and playback system when planning an animated outline.
Browse EZRGB RGB Lights and plug-and-play props to see the available formats. Product specifications determine the correct voltage, spacing, connection and location requirements. This guide does not assume EZRGB sells every kind of tape lighting or custom window frame.
Measure the path where the lights will actually sit
As a planning recommendation, record the top, bottom and two sides of each window separately. Measure the chosen mounting path rather than assuming it is identical to the glass dimensions. Add the four measurements for a rectangular outline. Keep a separate record for every window, especially where their sizes or trim profiles differ.
For example, a rectangular path measuring three feet across and four feet high has a fourteen-foot perimeter: 3 + 4 + 3 + 4. That is the geometric outline, not a complete purchase quantity. Leads, transitions between windows, connector positions and the route to the controller need their own measurements.
Do not apply a fixed 10% allowance to every product. Use the supplied installation guidance and actual cable routes to decide what extra length is needed. Also check available strand lengths and whether the manufacturer permits cutting or joining. A remainder on a measurement sheet does not mean a strand can safely be shortened.
| Measurement | Record before ordering |
|---|---|
| Each window | The four sides of the intended outline. |
| Between sections | The route and connection points for extension cables. |
| Equipment location | The path from each section to its assigned controller connection. |
| Mounting surface | The trim material and proposed support method. |
Choose mounting for your particular house
Mounting is a separate part of the installation. EZRGB kits include their listed extensions and kit equipment, but mounting is not included because every house differs. Check the surface, product dimensions, weight and manufacturer instructions before selecting clips, brackets or another support method.
Do not assume an adhesive works on every finish or removes without damage. Do not assume a clip intended for a gutter or roof edge fits window trim. Ask the supplier or installer to confirm the method for your actual lighting and building. Keep window operation and any required emergency access in mind when deciding where equipment will sit.
As a practical planning step, label windows and corresponding cables on your drawing. This makes the physical arrangement easier to compare with the digital layout. Check placement before committing to a larger installation; correcting a plan is easier than relocating mounted equipment.
Check outdoor ratings and power requirements
The Consumer Product Safety Commission’s holiday-lighting guidance recommends safety-tested lights, checking for damaged sockets or wiring, and extension cords rated for their intended use. Outdoor lights should be labeled for outdoor use and connected through GFCI protection.
Follow the actual product connection limits and wiring plan. This article does not prescribe a universal number of pixels per cable, an injection interval or a sealant treatment for every connector. If your layout changes the equipment or cable lengths, ask whether its power and protection requirements also change.
Inspect equipment before installing it. Stop using damaged products and resolve the issue before playback. Software configuration and an on-screen preview cannot verify the electrical condition of an outdoor installation.
Plan supported decorations in the EZRGB designer
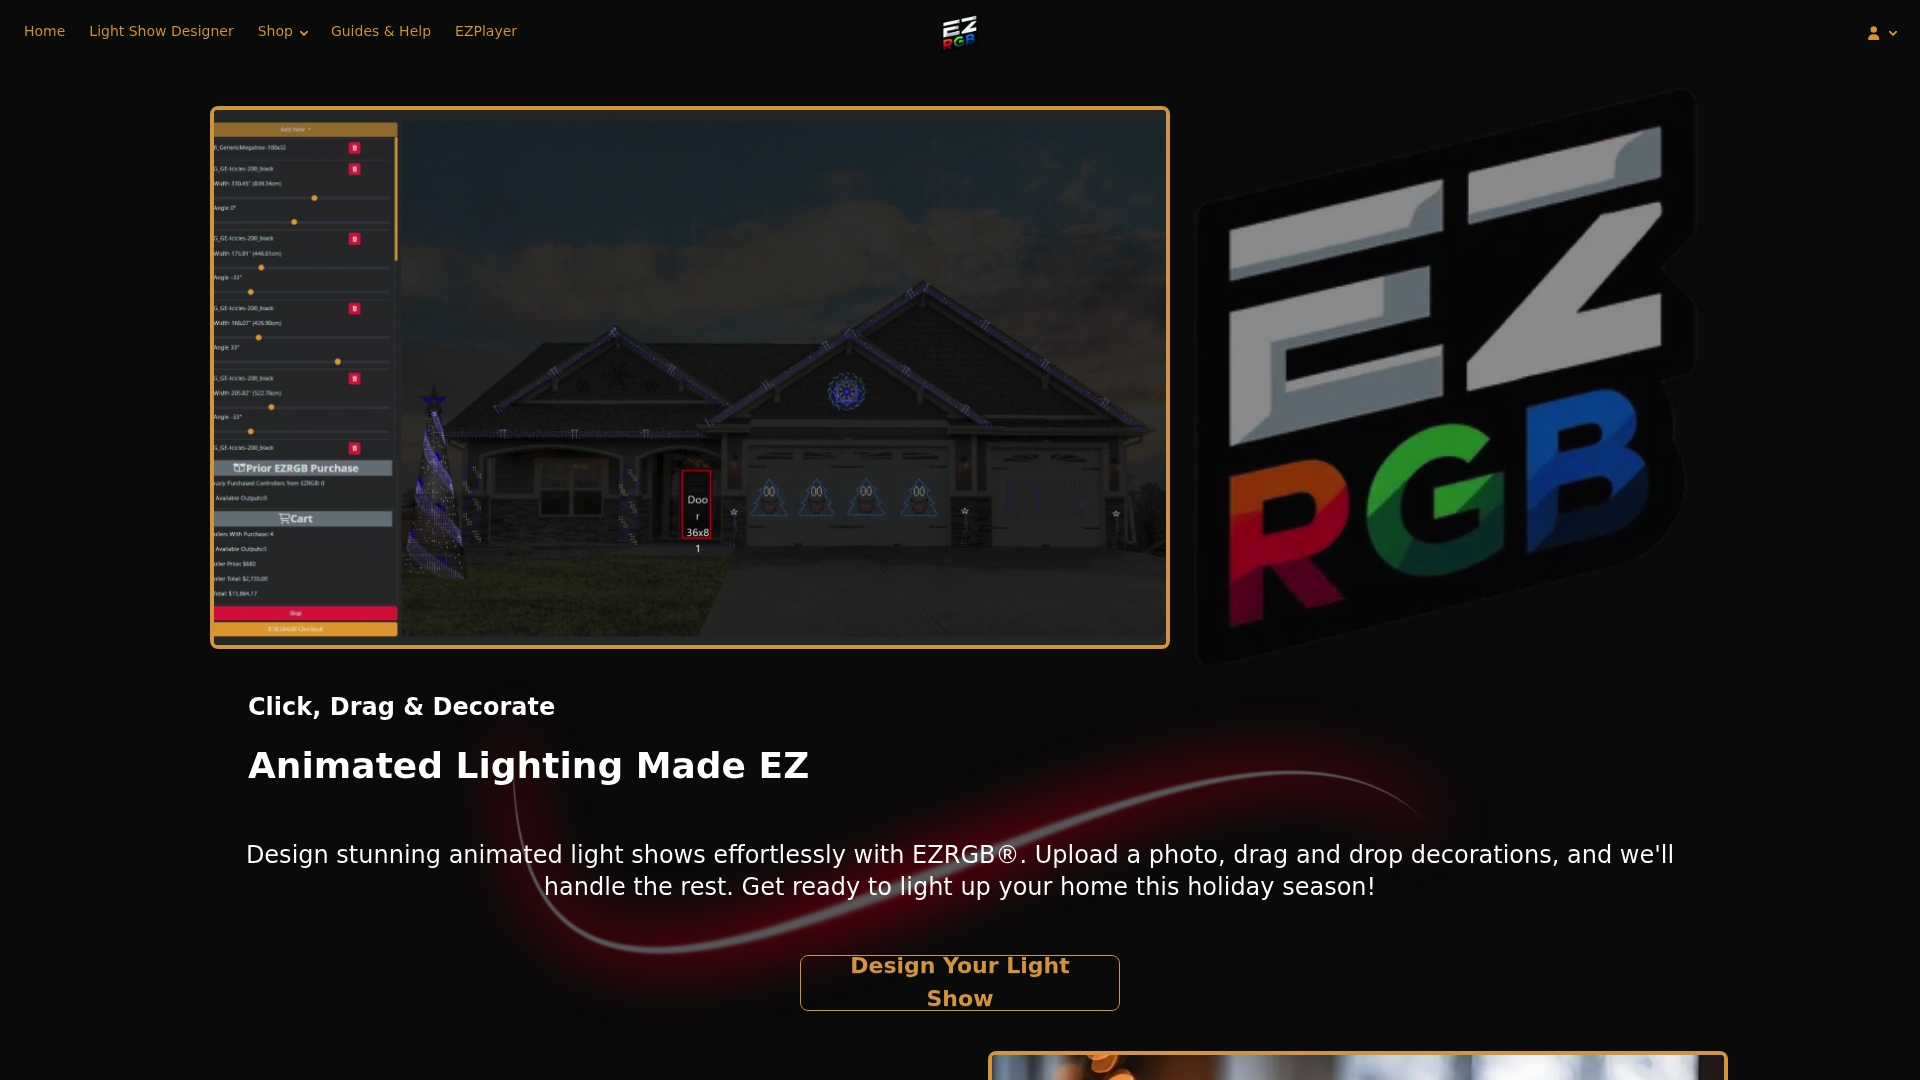
EZRGB’s official website describes uploading a home photo and dragging decorations into place. It also describes plug-and-play props with preinstalled pixels. Use the Light Show Designer to plan supported products in relation to your windows and other display elements.
Compare the visual plan with your measurements. A photo communicates placement, but it does not replace the product dimensions or establish compatibility for an arbitrary custom outline. If the intended window shape or existing equipment is unusual, confirm the supported model and mapping workflow with EZRGB before buying.
What is included, and what do you buy separately?
Check the list for the specific kit you choose. Its listed extensions are included. Mounting is excluded because it depends on the house. Sequences and music are sold separately, so include both in the show budget rather than assuming hardware arrives with your chosen songs.
Review the sequence catalog alongside the layout. Confirm that the chosen sequence and matching audio suit the intended show. Keep the hardware list, mounting plan and content purchases together so the budget represents the project rather than just the price of a light strand.
Use EZPlayer to play and schedule the show
EZPlayer’s official feature page describes a player and scheduler that reads show files, sends data to network controllers and plays associated audio. It supports local operation and optional cloud registration. For EZRGB content, the page lists automatic sequence mapping, download and installation, plus layout sync.
Choose the setup path that matches your show. The official page explains selecting an existing xLights show folder for local setup, or choosing cloud setup and registering the player when the show was prepared through EZRGB. It does not describe exporting the whole show into a supplied controller as a substitute for using the player.
Once the content is available, test a prepared song before setting viewing hours. The EZPlayer scheduling guide covers playlists, date and time windows, and repeat options. Decide on a schedule that suits your household and neighbors. An accurate equipment plan and a tested playlist are more useful than an unsupported promise that every display takes one afternoon.
Frequently asked questions
Should I always add 10% to the window perimeter?
No. Measure the outline and cable routes, then follow the chosen product’s installation guidance. Required additional length and usable strand sizes vary.
Does an EZRGB kit include mounting?
No. Kits include their listed extensions and kit equipment, while mounting is selected separately for the particular house.
Are sequences and music included in the hardware kit?
Sequences and music are separate purchases. Confirm both when planning the complete show budget.
Can any RGB string run an animated window sequence?
Do not assume so. Confirm individual addressability and compatibility with the controller, model and selected playback workflow.
Where should I start with a custom outline?
Measure the intended installation path and contact EZRGB with the dimensions and equipment details. Ask which supported products and layout models fit before ordering.