RGB Christmas Lights: Six Steps From Photo to Show for Beginners

Yes, beginners can run an animated RGB Christmas display using a plug-and-play kit and pre-made sequences. You don’t need programming experience or a background in electronics to get a synchronized show running on your house this season. Start by uploading a house photo to the EZRGB Designer and setting its scale using a known measurement. Then draw your outlines and place props; EZRGB works out the equipment needed for your design.
Your First-Show Checklist: From Layout to Scheduled Playback
Running your first animated display comes down to six manageable steps. Each one builds on the last, so working through them in order keeps you from buying the wrong gear or skipping a safety check.
-
Upload your house photo, calibrate its scale and draw the rooflines, curved lines, doors and windows you want to light.
-
Design your display on the scaled photo, and let EZRGB work out the equipment needed for your layout.
-
Order one or two sequences along with the matching music, since sequences and music are purchased separately from your kit.
-
Gather listed outdoor products, GFCI-protected outlets, weatherproof connectors, and the right-gauge extension cords before you touch a ladder.
-
Install in stages, bench-testing each controller and string before you commit to final placement.
-
Connect EZPlayer through the required EZRGB cloud setup so the system can download your files and sequences and configure your show, then test your playlist and schedule.
Pro Tip: Test every string indoors on a short run before mounting anything outside. It’s far easier to swap a bad connector on a workbench than on a ladder.
1. Scale your house photo in the EZRGB Designer
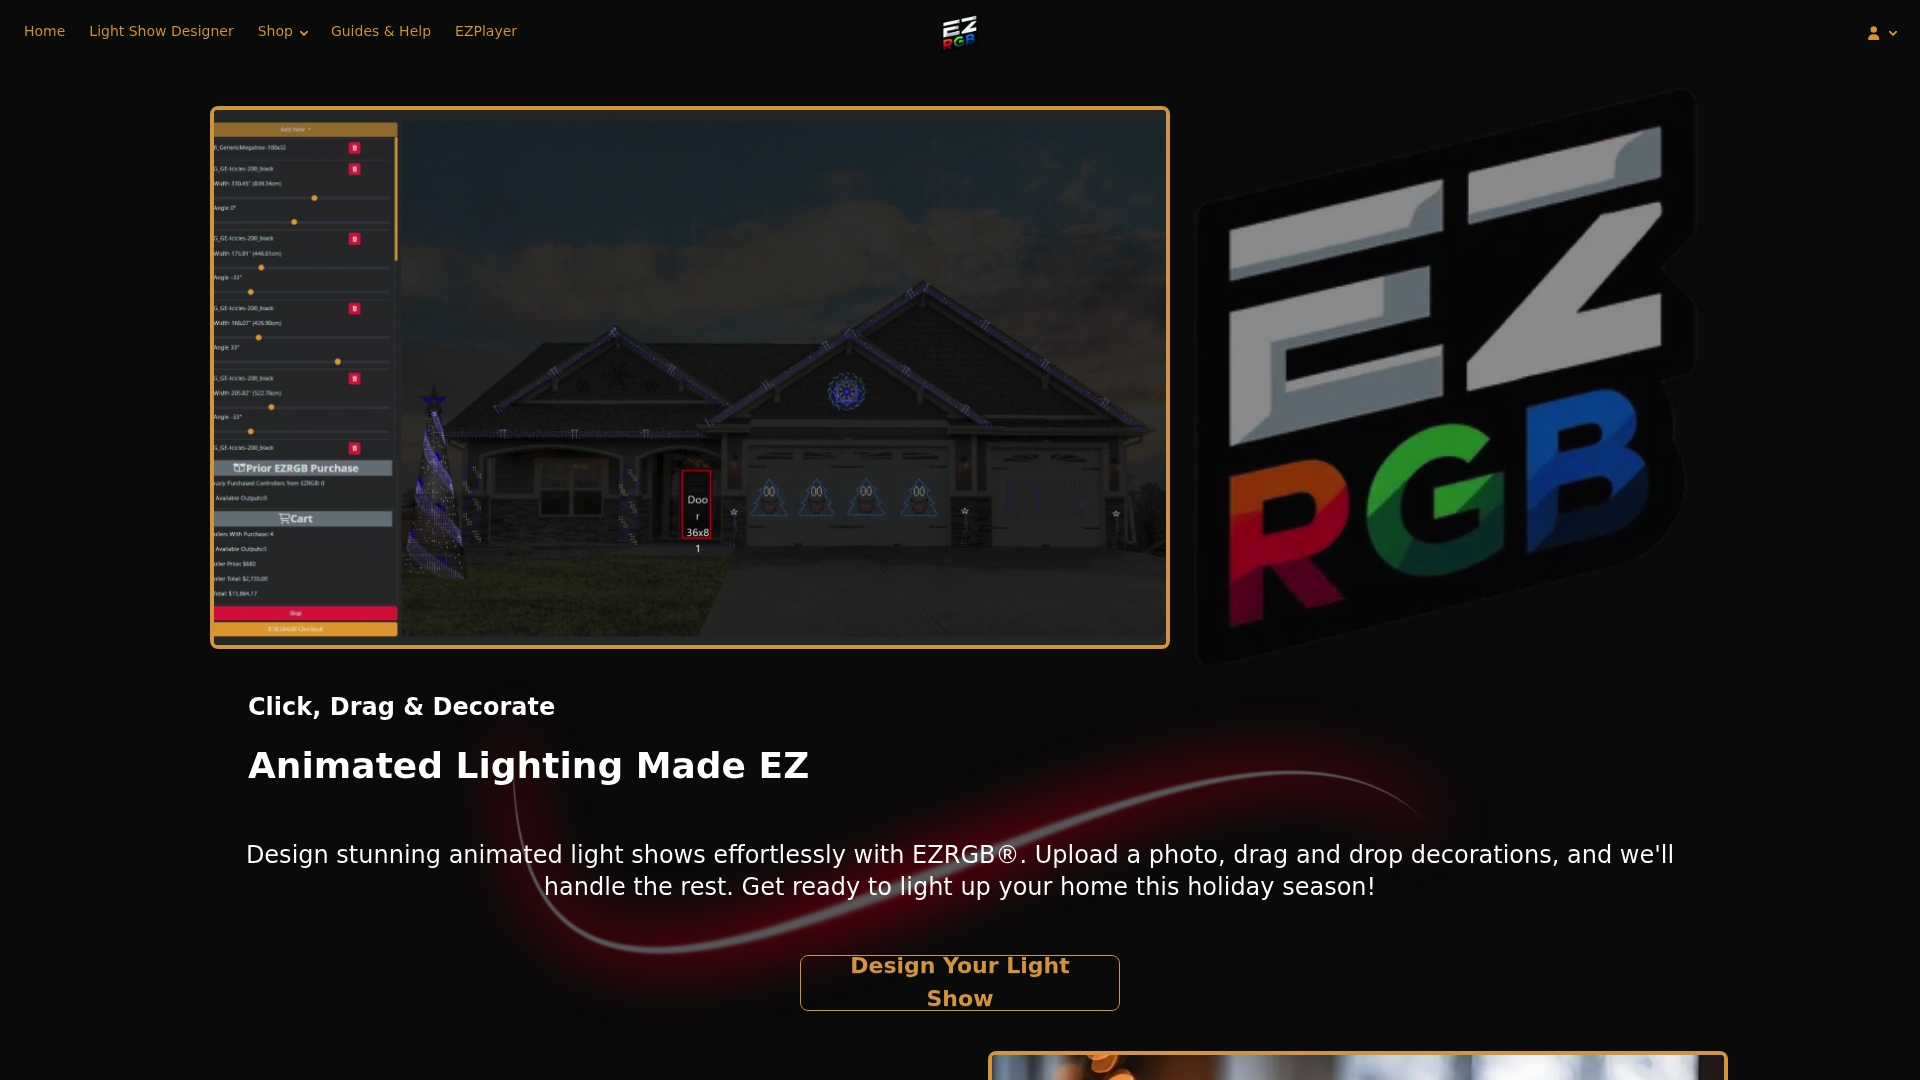
The EZRGB Light Show Designer does more than place decorations on a photograph. To establish scale, draw a box around something you have measured, such as a door, and enter its dimensions. The Designer uses that reference to scale the photo and size the props in your layout.
Its drawing tools support rooflines, curved lines, doors and windows. Drawing those features on the scaled photo lets the program estimate how many lights are needed for their outlines. This makes the Designer the starting point for planning, rather than requiring you to manually measure every section before creating a layout.
Use an accurate reference measurement and a clear photo. Check or confirm estimates where needed before ordering or installation, especially if the real mounting path differs from the drawn line. Photo-based planning estimates do not establish electrical capacity or select mounting hardware for your house.
Save a clear layout showing which outlines and props you intend to install. As a practical planning option, separate your first phase from future additions so both the shopping list and the installation remain manageable.
2. Let EZRGB work out your equipment
RGB means red, green and blue. Addressable pixels can receive individual color commands, allowing changing patterns across a display. Check the actual product specifications: a decorative bulb shape alone does not establish how a string is controlled. EZRGB also offers plug-and-play props with pixels preinstalled.
Your design determines what is needed
Kits include listed extensions and kit equipment, but mounting hardware is excluded because every house has different rooflines, siding, and anchor points.
Once you upload your photo, draw a box around a measured door or window and enter its dimensions, the Designer uses that scale for the props and outlines you draw. EZRGB works out the equipment needed from that design. You do not have to manually match controllers, pixel strings, props and extension leads to the plan.
Focus on the display you want to create, the accuracy of your reference measurement and the mounting suitable for your house. Confirm uncertain dimensions or physical installation details where needed.
3. Order sequences and matching music
A sequence is a timed file that tells each pixel what color and brightness to display at every moment of a song. Sequences and music are sold separately from the hardware kit. Follow the sequence listing’s requirements for the matching audio; do not assume purchasing a sequence includes the music.
For a first show, a practical approach looks like this:
-
Pick one or two shorter sequences rather than a full set, so you can learn pacing and placement before investing further.
-
Check the sequence listing and matching audio requirements before purchasing.
-
For the EZRGB workflow, confirm that your chosen layout and props are supported rather than assuming a sequence must have exactly your original channel count.
-
Follow the EZRGB setup workflow to prepare your purchased content for playback, then test it on the actual display.
Browse the EZRGB sequence catalog for the available selections. Purchasing a prepared sequence is different from generating choreography for any song you choose.
4. Plan mounting and test before installation
Mounting must suit the actual surface and selected lights or props. Select clips, brackets or supports using the relevant manufacturer instructions; one attachment method is not suitable for every roof or wall. Plan cable routes and connector locations alongside the visual layout.
The CPSC’s holiday-lighting guidance recommends safety-tested lights, inspecting for damaged wiring and sockets, and extension cords rated for their intended use. Outdoor lights should be labeled for outdoor use and connected through GFCI protection.
Test compatible equipment according to its instructions before mounting it. A useful preparation step is to label cables and record their destinations. Keep access routes clear, and use a qualified installer or electrician when the mounting or electrical arrangement is uncertain.
Neither the Designer’s estimated footage nor a pixel count establishes safe loads. Use the documented limits of the actual controller, power equipment, wire and connectors. Do not copy a generic pixels-per-output or power-injection rule from a different setup.
5. Set up playback and scheduling with EZPlayer
EZPlayer is a show player and scheduler. It plays prepared sequence files and associated audio and sends lighting data to compatible network controllers. It does not replace the controller hardware.
EZRGB kits require the EZRGB cloud workflow. Connect EZPlayer through cloud setup so the system can download the files and sequences and configure your show. Cloud is part of how the EZRGB system prepares your display, rather than an optional alternative for kit setup.
EZPlayer has separate local capabilities for other workflows, but those are not a substitute for the required cloud setup when using EZRGB kits and the EZRGB show system.
Create or check a playlist, set its days and times, and use Schedule Preview to examine the result. Consult the EZPlayer manual for your setup.
6. Run a full rehearsal and keep a setup record
Before inviting viewers, test the planned playlist on the installed display. Watch for an outline or prop that behaves differently from the layout, check the intended audio and confirm the start and stop times. Choose considerate viewing hours as a practical courtesy to neighbors.
If something fails, note which part is affected and the exact symptom. Check the relevant setup instructions or ask support rather than changing several settings at once. If protective equipment trips or wiring is damaged, stop using the affected setup until the cause is resolved; repeatedly resetting a breaker is not a troubleshooting plan.
Keep your layout, cable labels, equipment details and content purchase information together. These records make questions and future changes easier to explain. Start with the kit catalog and your Designer layout when deciding what belongs in the first phase.
FAQ
What do EZRGB plug-and-play kits include?
Kits include listed extensions and kit equipment. Mounting hardware is excluded because homes differ in roofline, siding, and anchor points, so you’ll supply your own mounting clips or stakes.
Do I need to buy sequences and music separately from my kit?
Yes, sequences and music are both sold separately from your lighting kit. This lets you choose content that fits your layout and controller rather than being locked into whatever comes bundled with the hardware.
Does the Designer estimate how many lights I need?
Yes. Set the photo scale using a measured reference, then use its drawing tools for windows, doors and outlines. The program estimates light quantities from that scale. Confirm uncertain estimates or installation details before ordering.
Do I have to manually map an EZRGB sequence’s original channel count to my house?
The official EZPlayer page lists automatic mapping for EZRGB sequences. Confirm your layout and products are supported and follow the EZRGB workflow rather than assuming the original channel count must match your kit exactly.
What does “individually addressable” mean for RGB Christmas lights?
It means the lights can be controlled individually rather than only as one unit. Check the product specifications to confirm how the lights in a particular string are controlled. That independent control is what allows chasing patterns, color waves, and music-synced effects that traditional string lights can’t produce.